AUTHORS:
Luigi De Stefano
Article in collaboration with colleague Luigi Ciccarelli
INTRODUCTION
The removable prosthesis finds physiological space in the implant support in cases of poor stability, particular clinical conditions and greater patient needs.
The types and techniques used undergo changes that may be related to the aspects just described as well as to the possibilities offered by the market in terms of available technologies and available materials.
In the case-report reported in this article, the technical phases of programming, design, execution of medical devices made for mucosal and implant support are simply reported. We have resorted to the use of CAD-CAM techniques for the realization of the support bar and of the materials chosen for their residence characteristics and biocompatibility.
MATERIALS AND METHODS
In the planning phases of a total edentulism rehabilitation, considerations and evaluations follow consolidated and inalienable concepts. Also in case of choice of implant support it is necessary
With the advent of the implant era too often the concepts of total prosthesis are put aside. This constitutes a potential source of failure with the consequent possible loss of the plant itself. In this article we will describe some phases of the realization of a prosthesis with a mucous support and an implant supported.
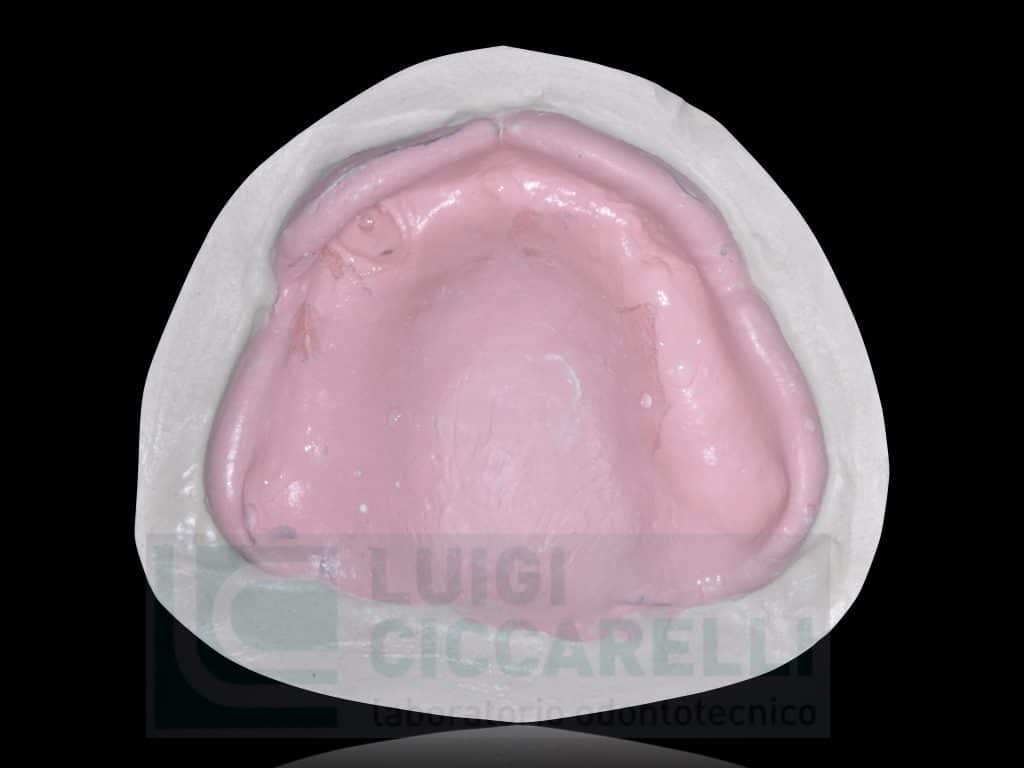
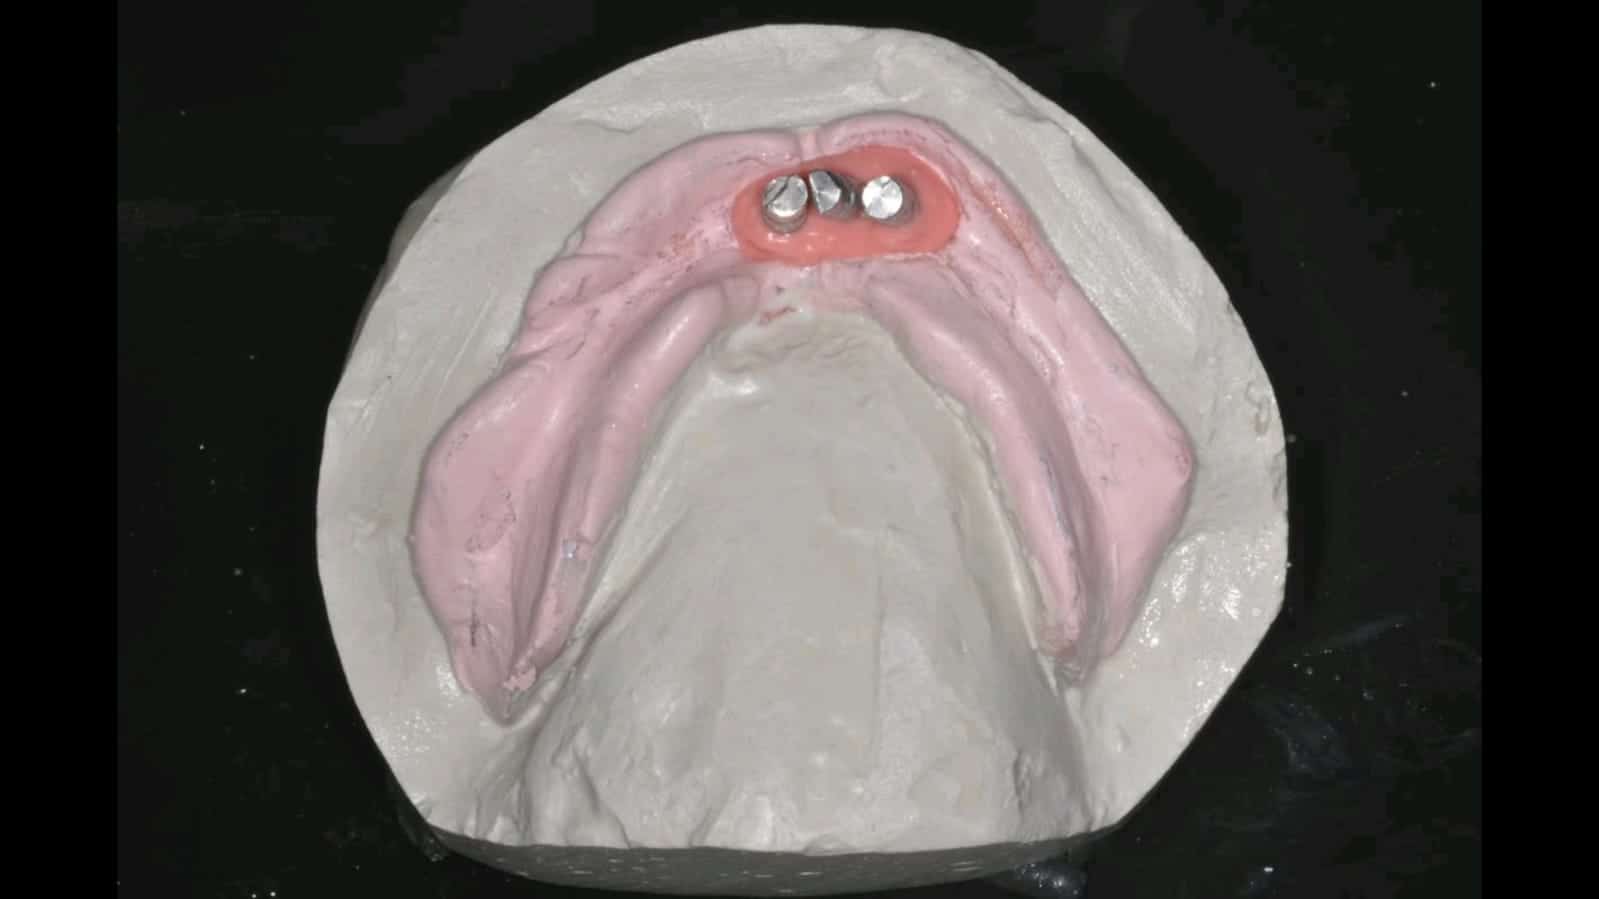
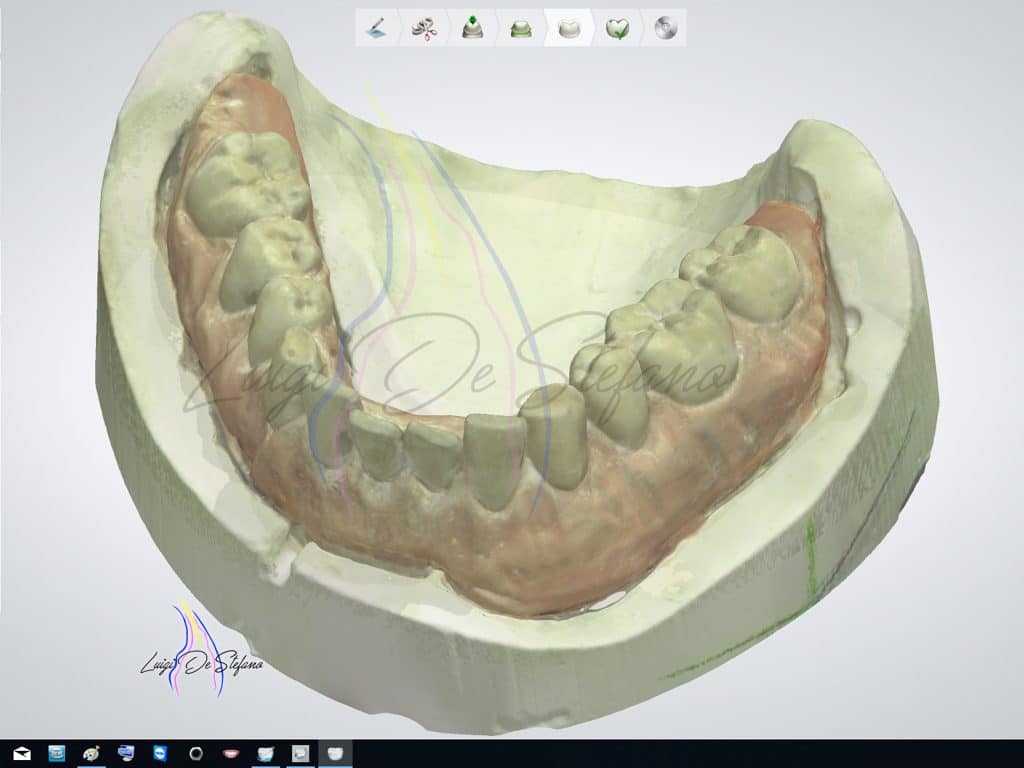
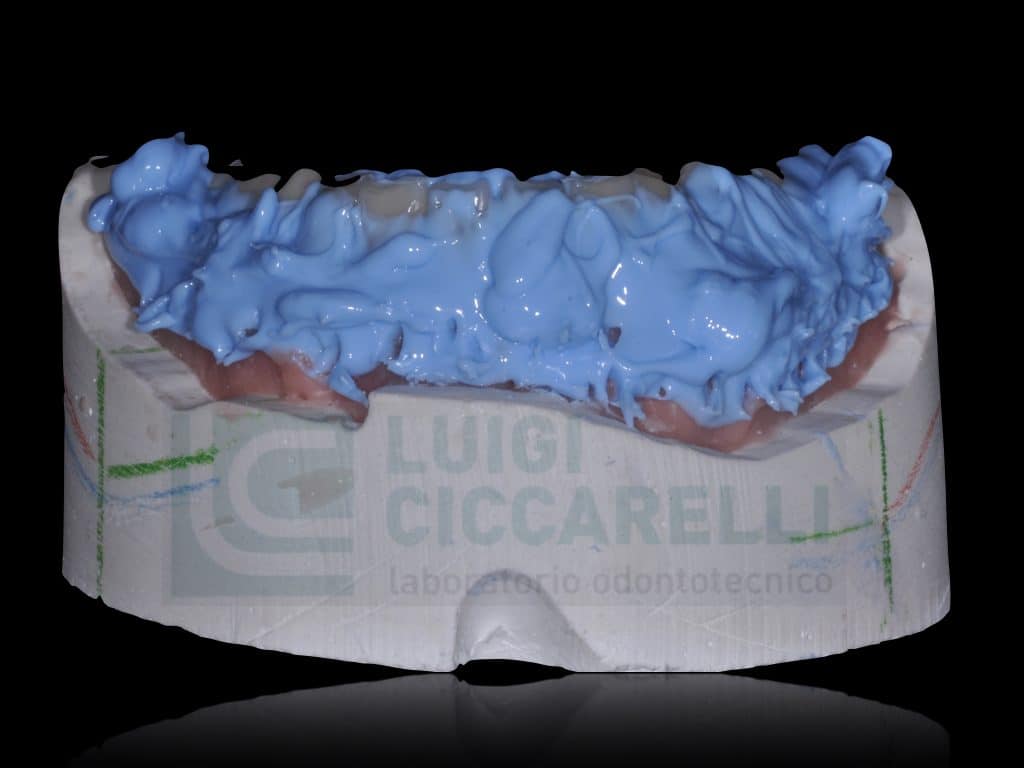
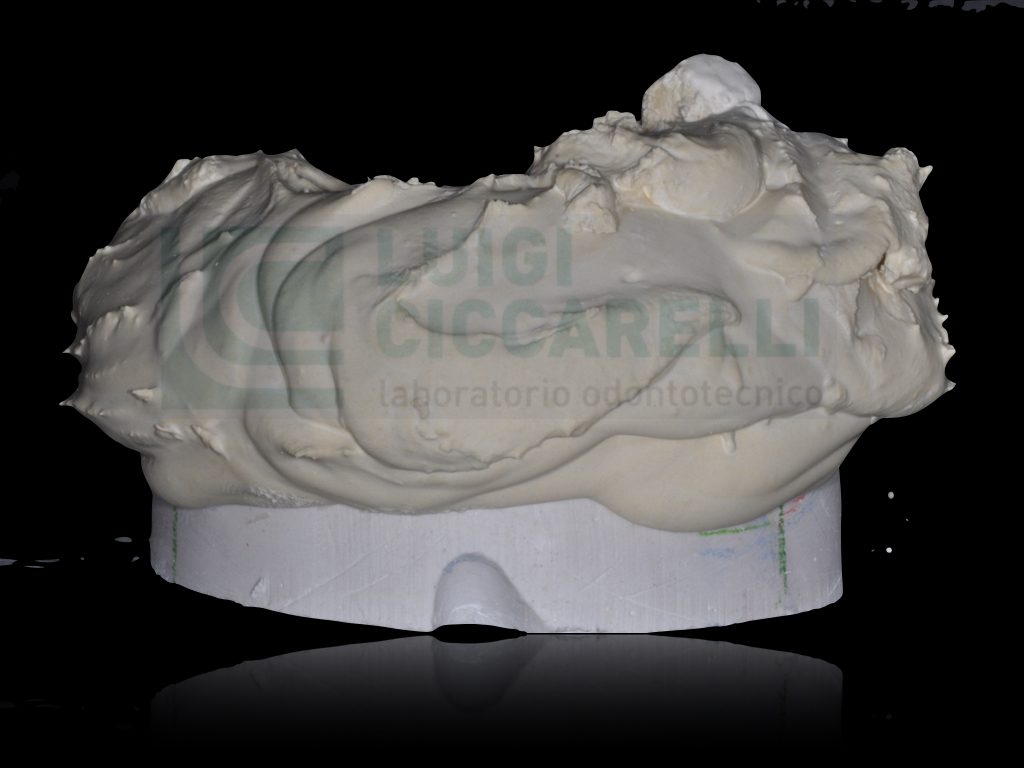
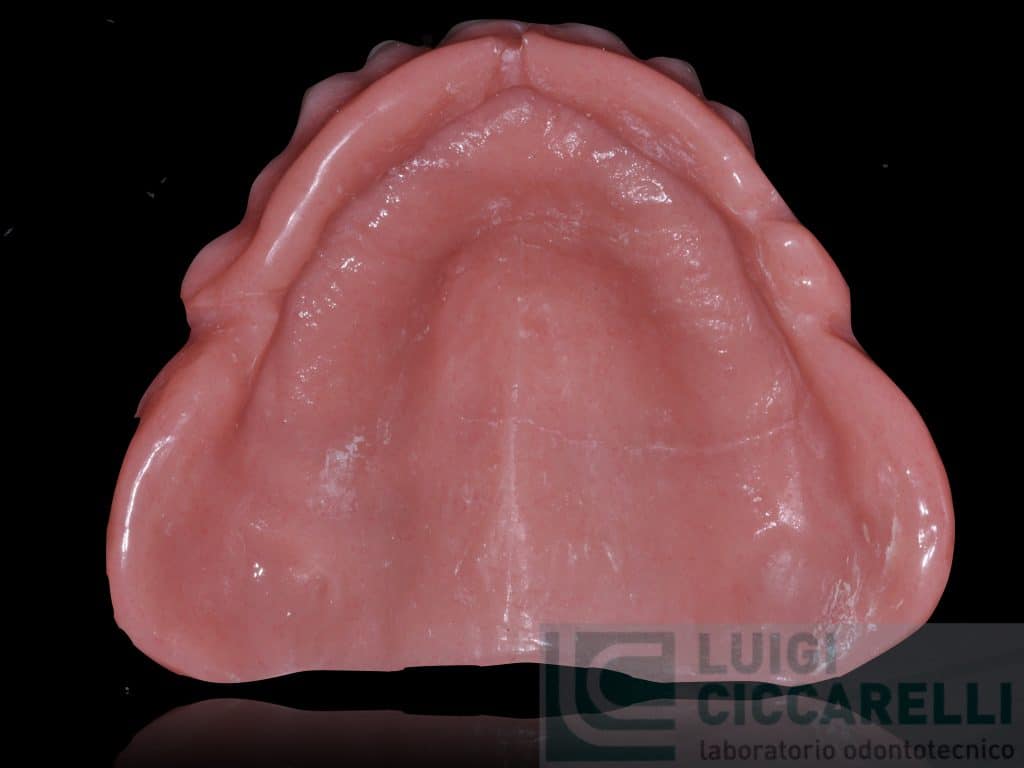
The protocol remains faithful to the classic technique of removable prosthesis starting from a good impression in over-extended alginate. On the models taken from the preliminary footprint we will make individual impression trays useful for detecting a master impression. They will be built using the technique of the North American school of Prof. Passamonti. Obviously the area relative to the position of the implants is modified to be able to detect even their precise position. The master impressions obtained will contain the information that the clinician detects by means of functional bordering useful for continuing the prosthetic realization. It will be our task to preserve them by boxing and obtain the relevant work models.
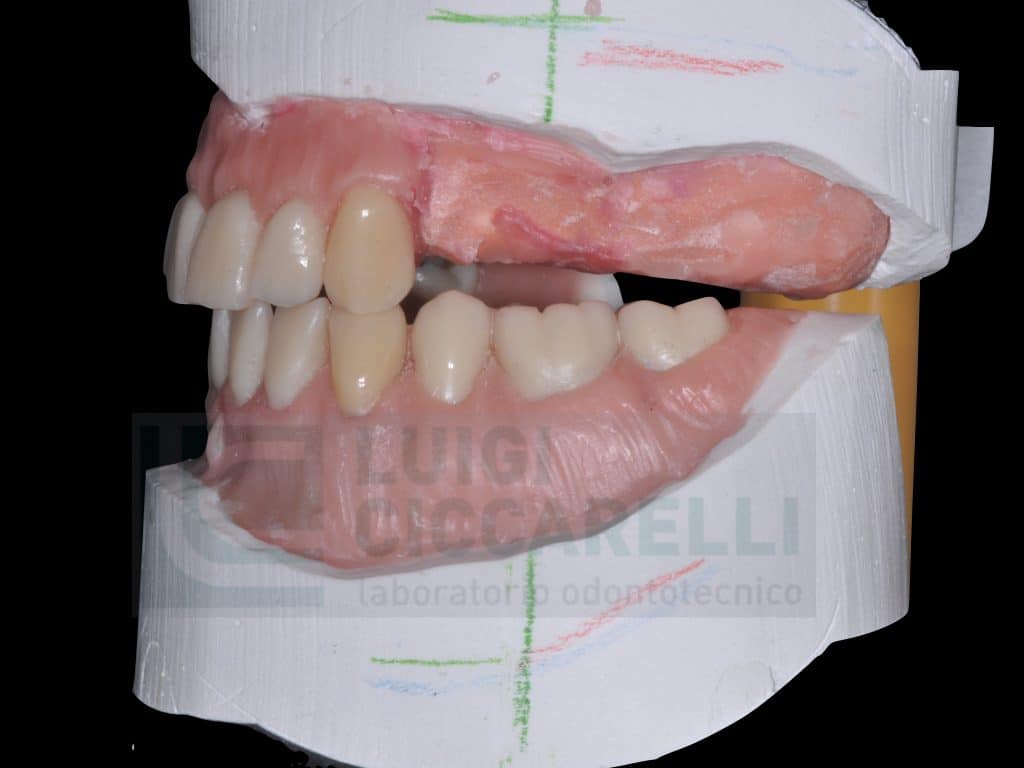
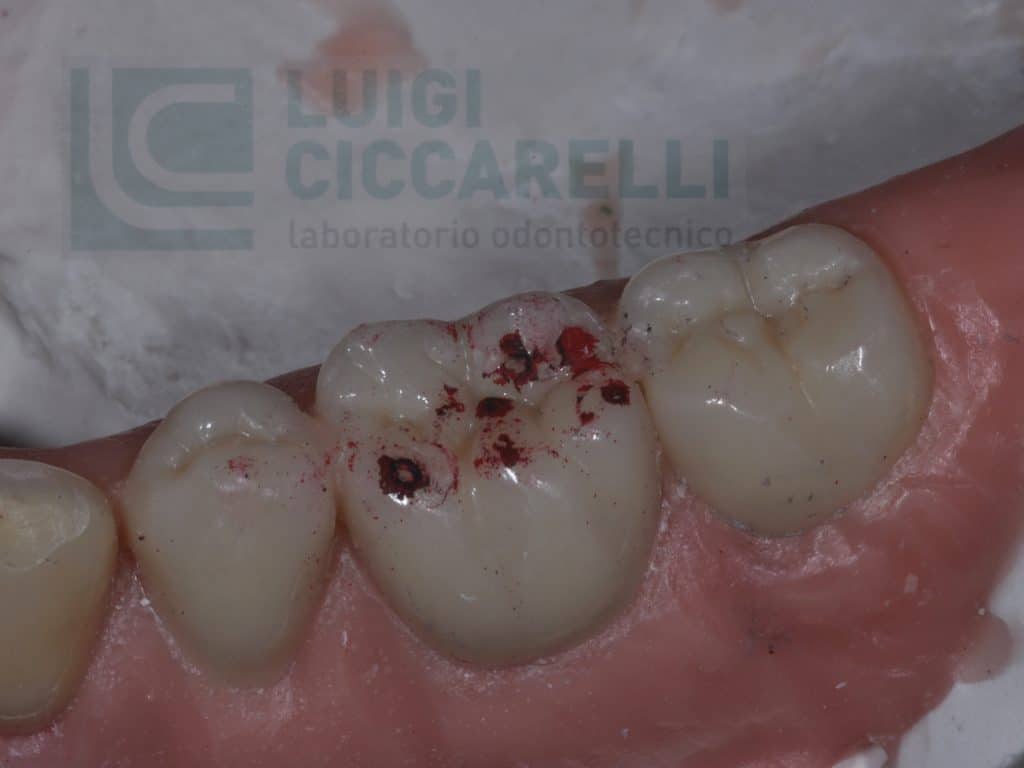
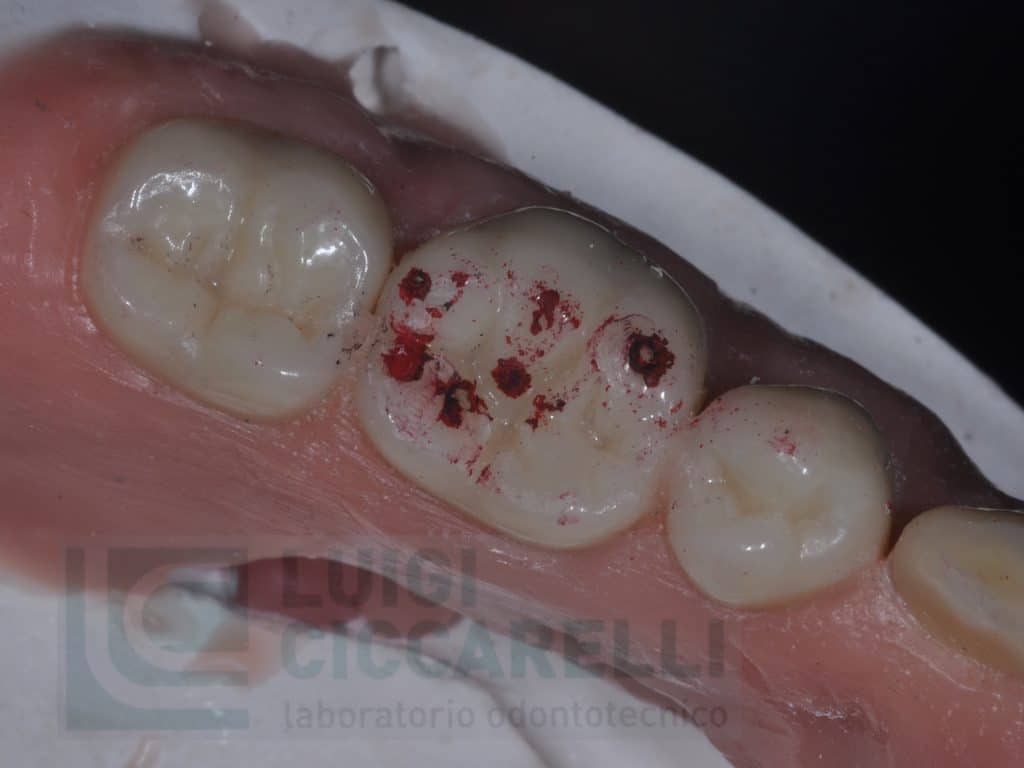
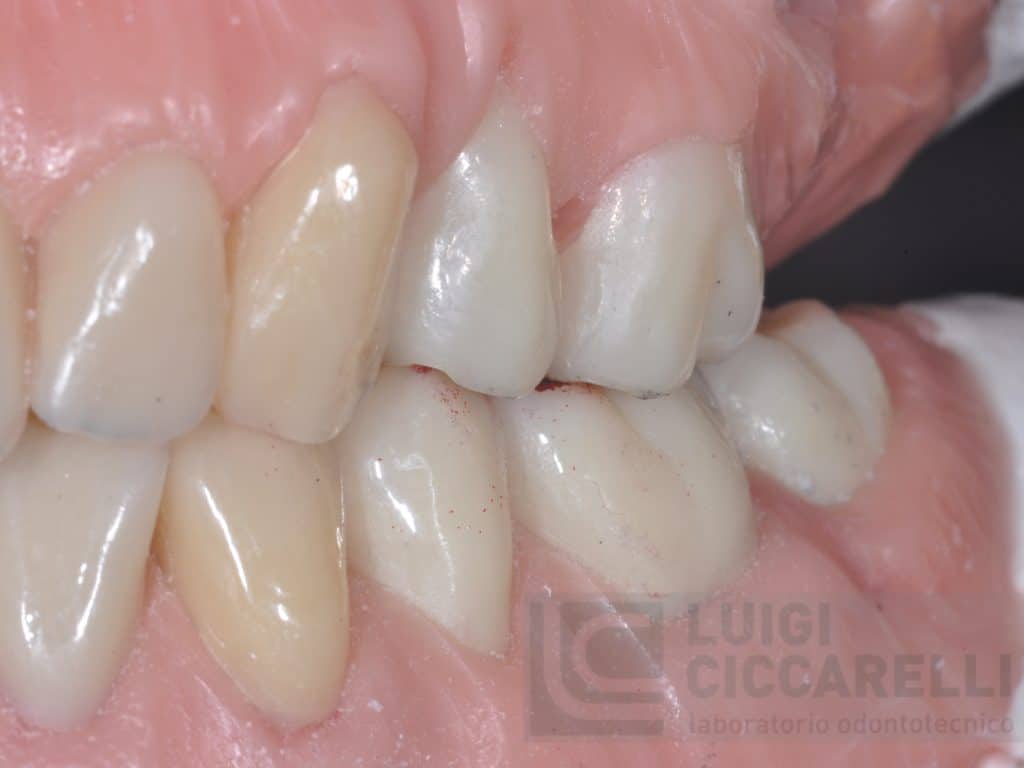
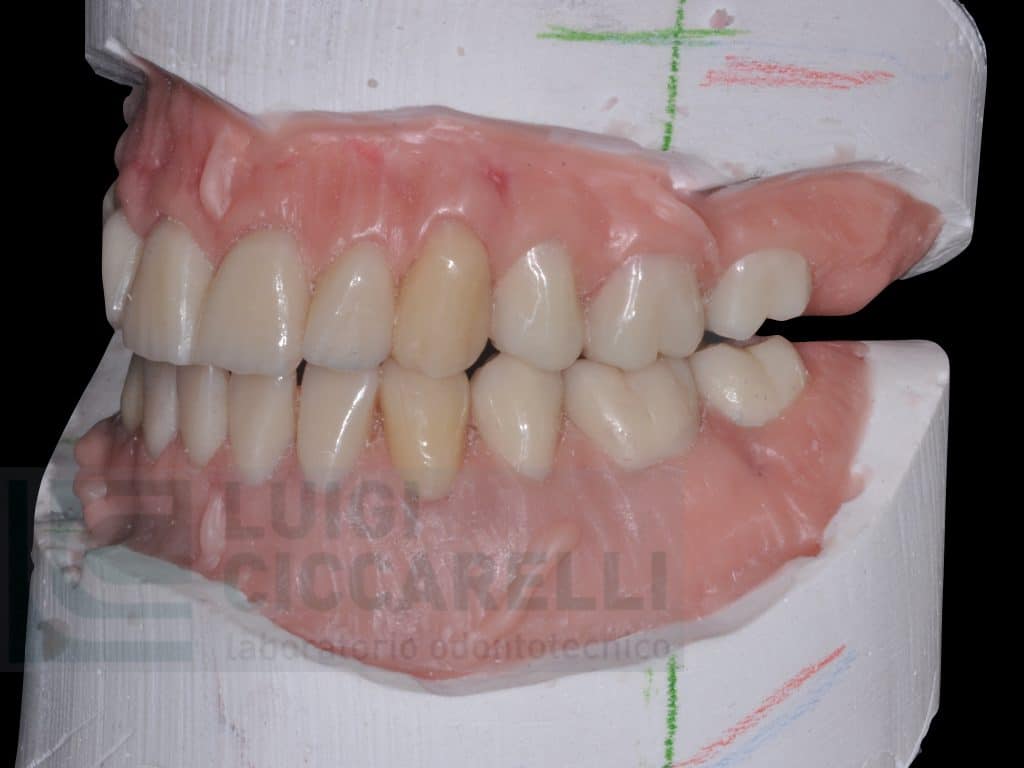
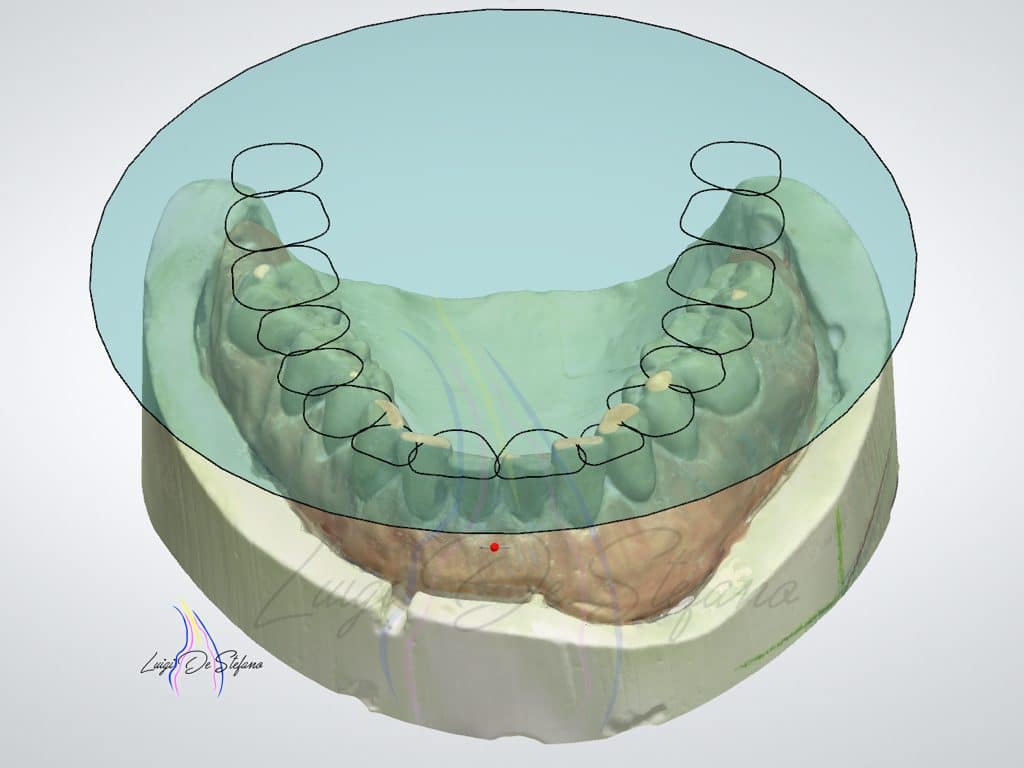
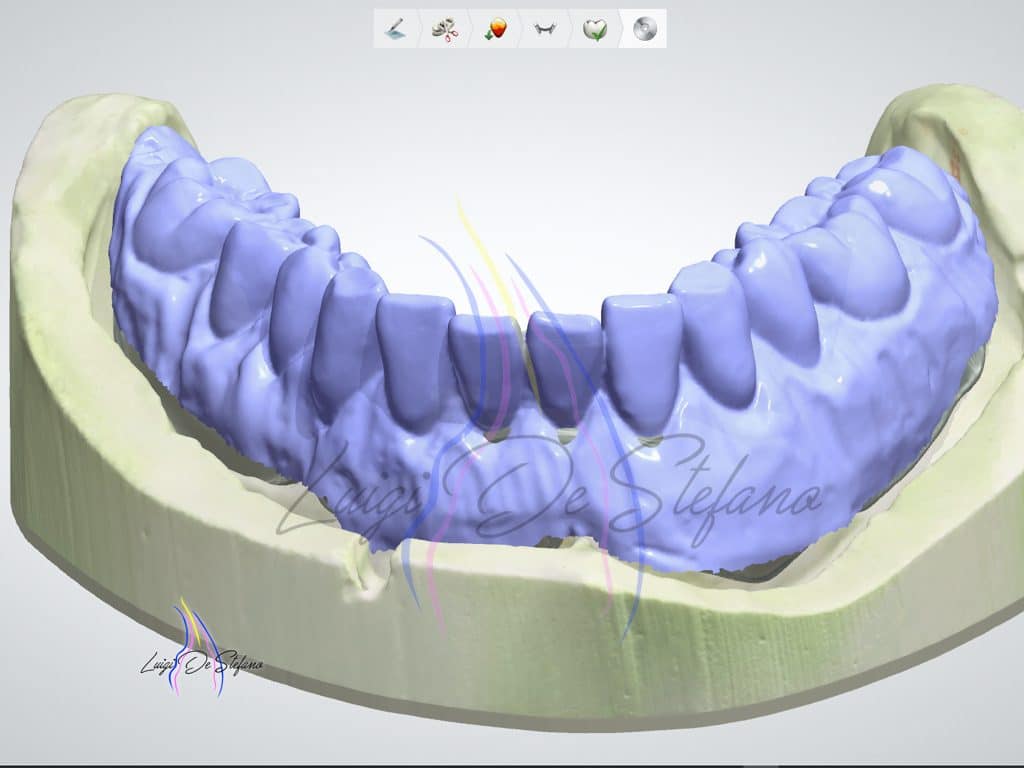
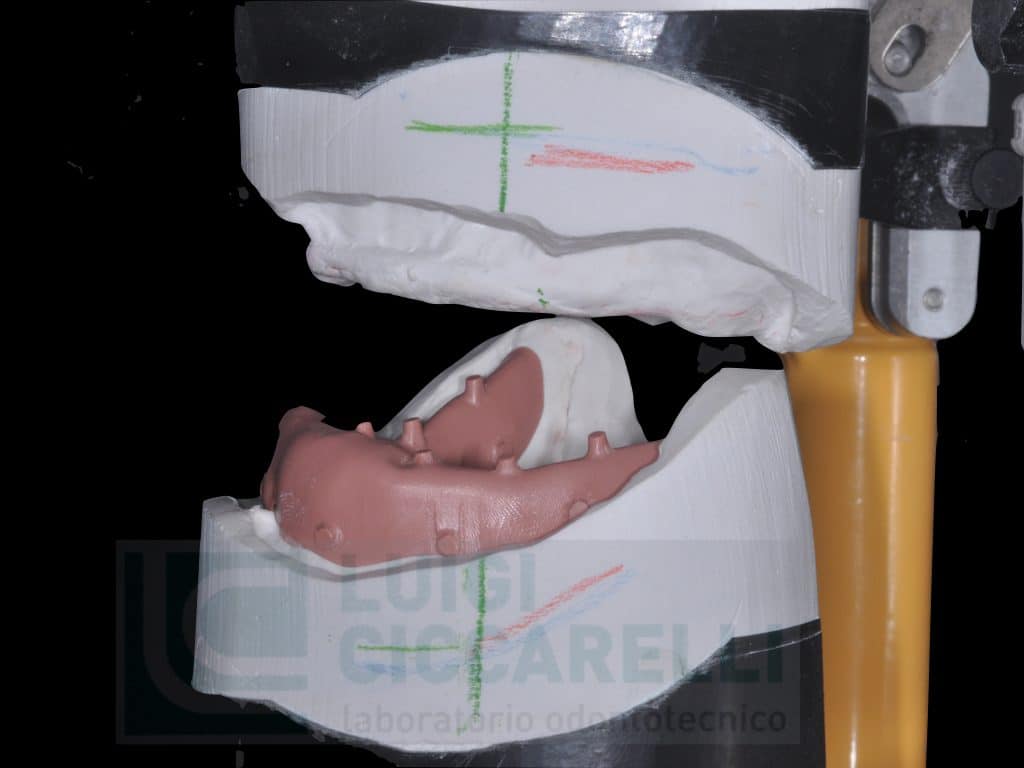
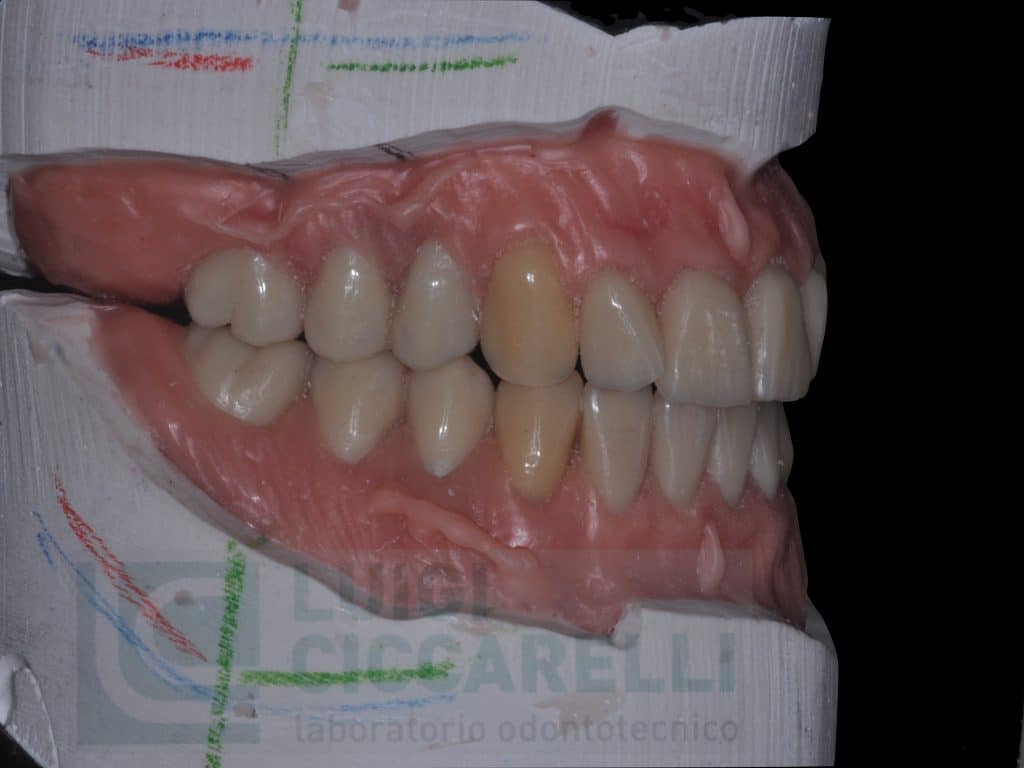
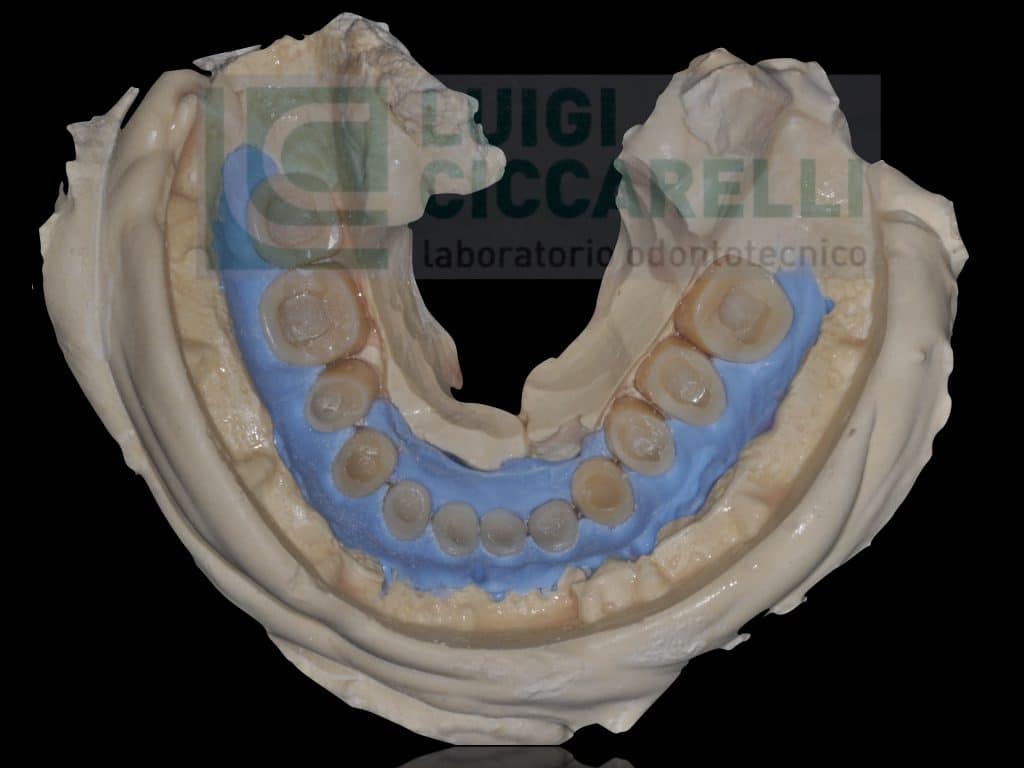
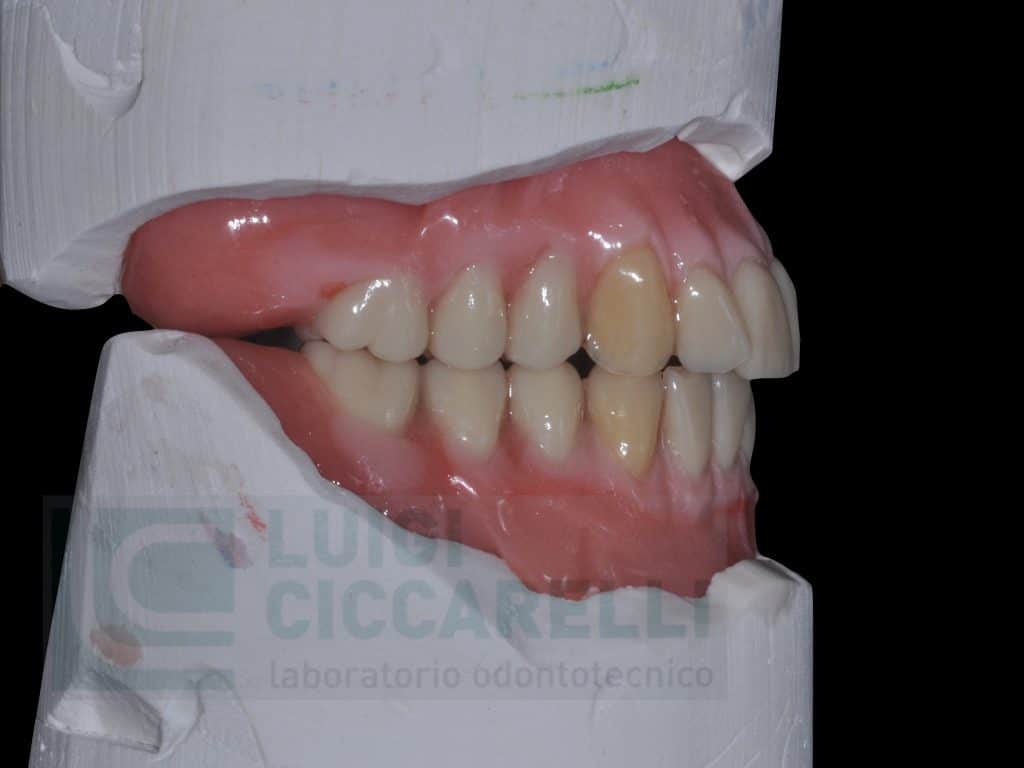
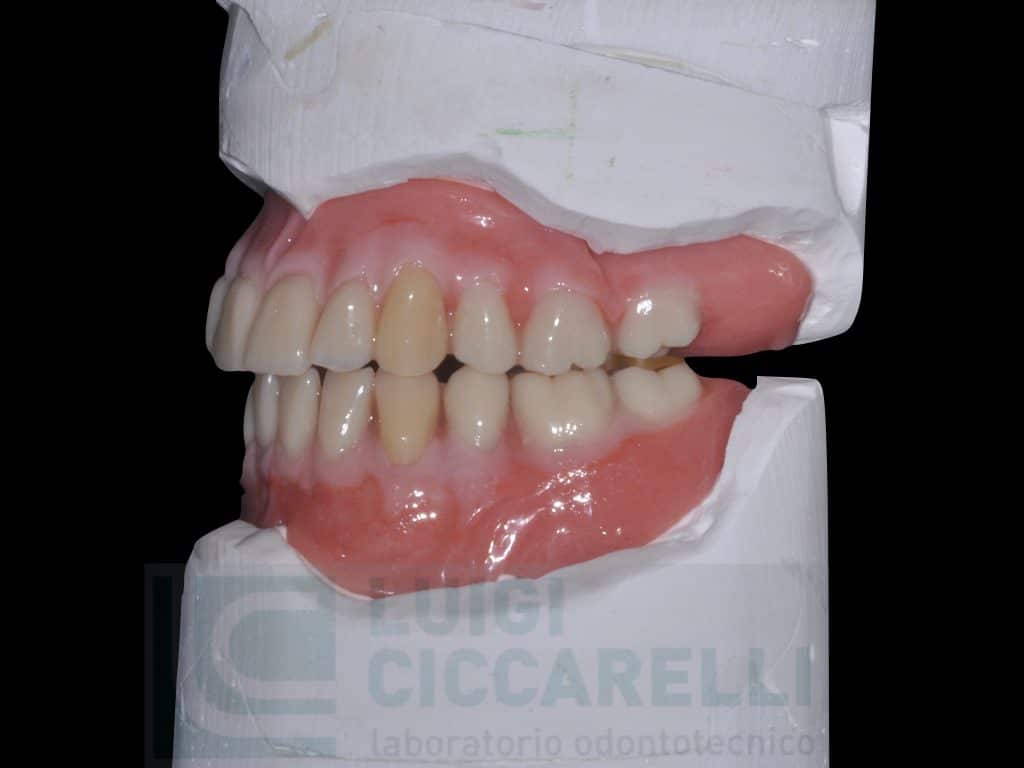
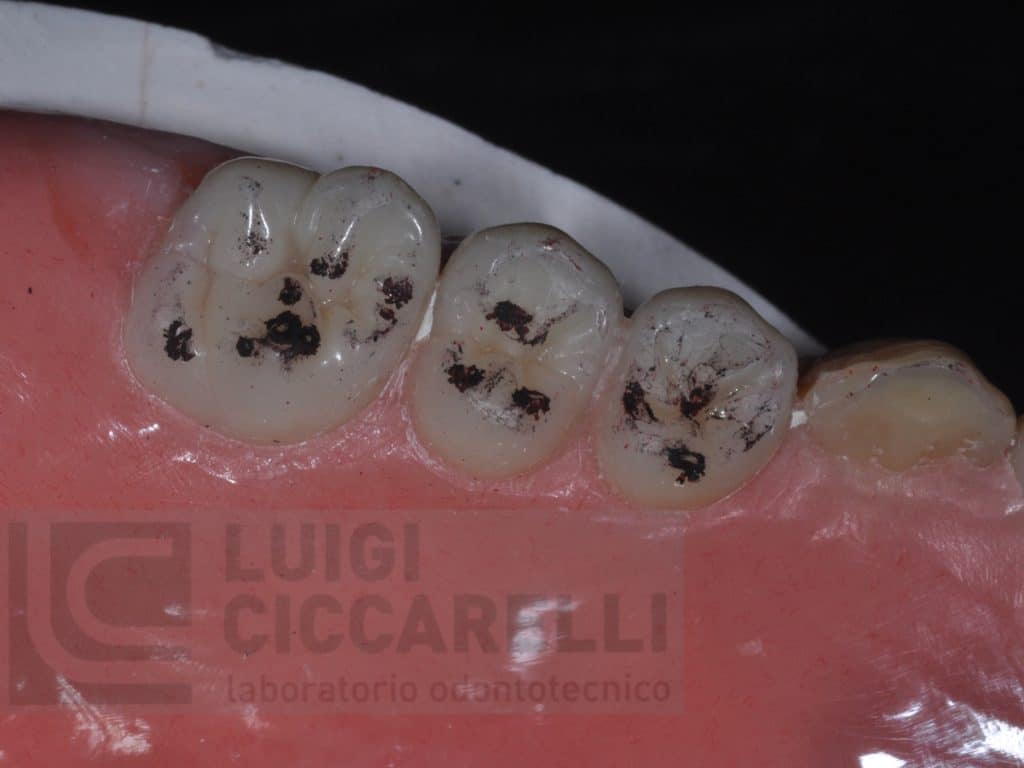
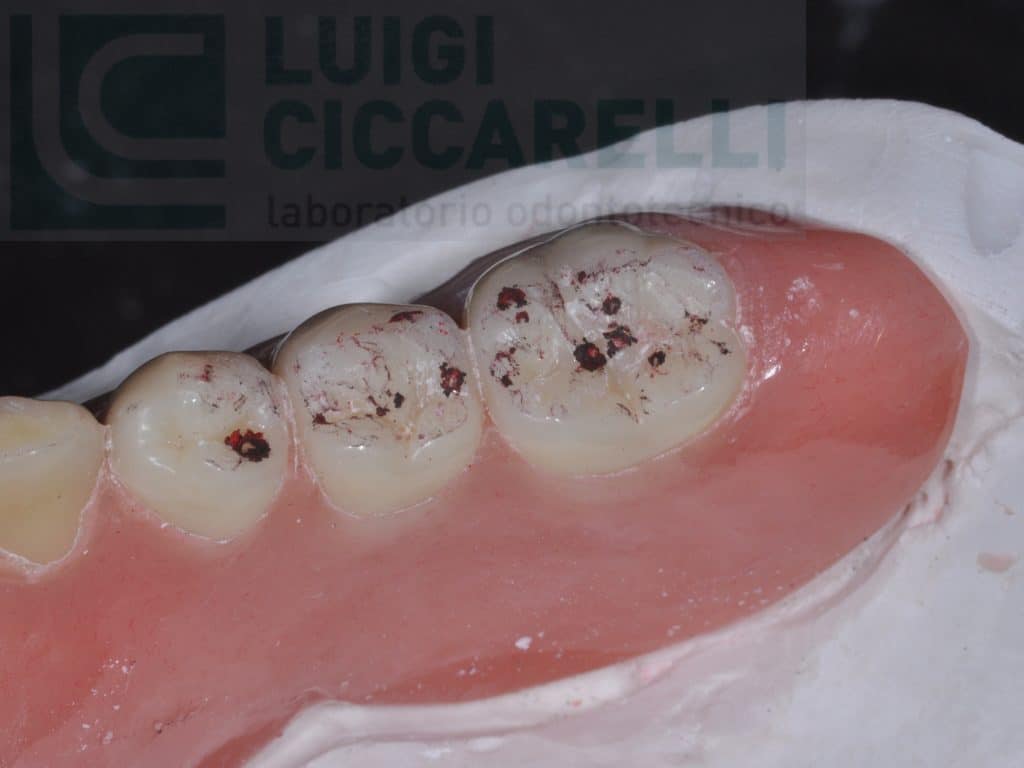
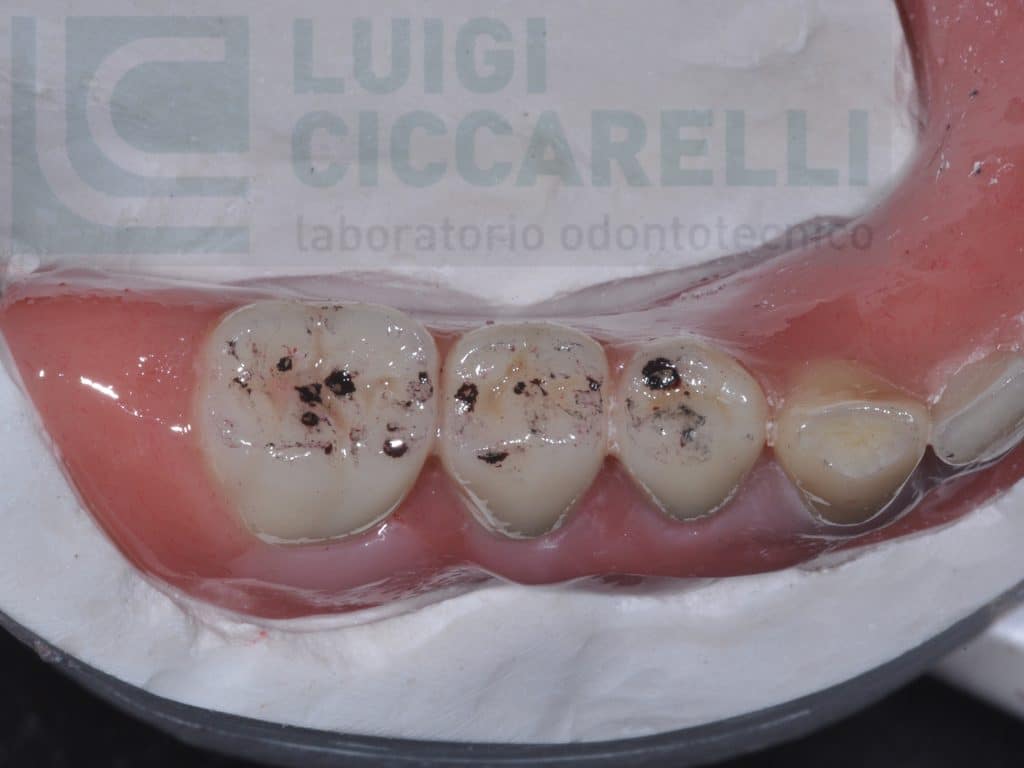
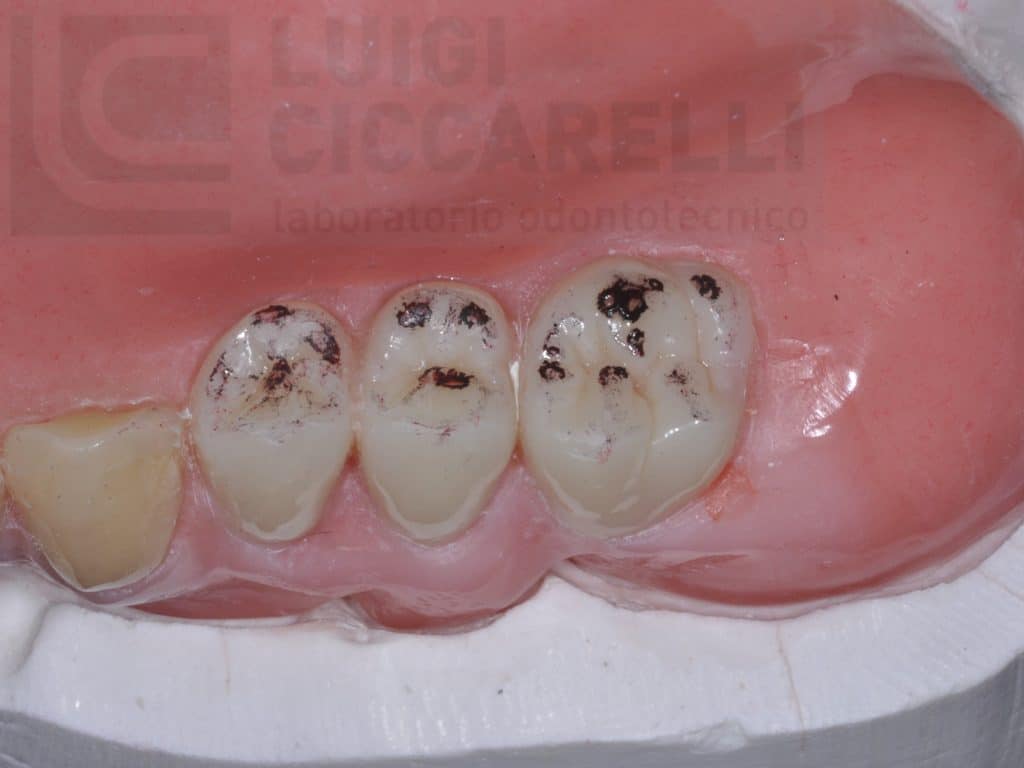
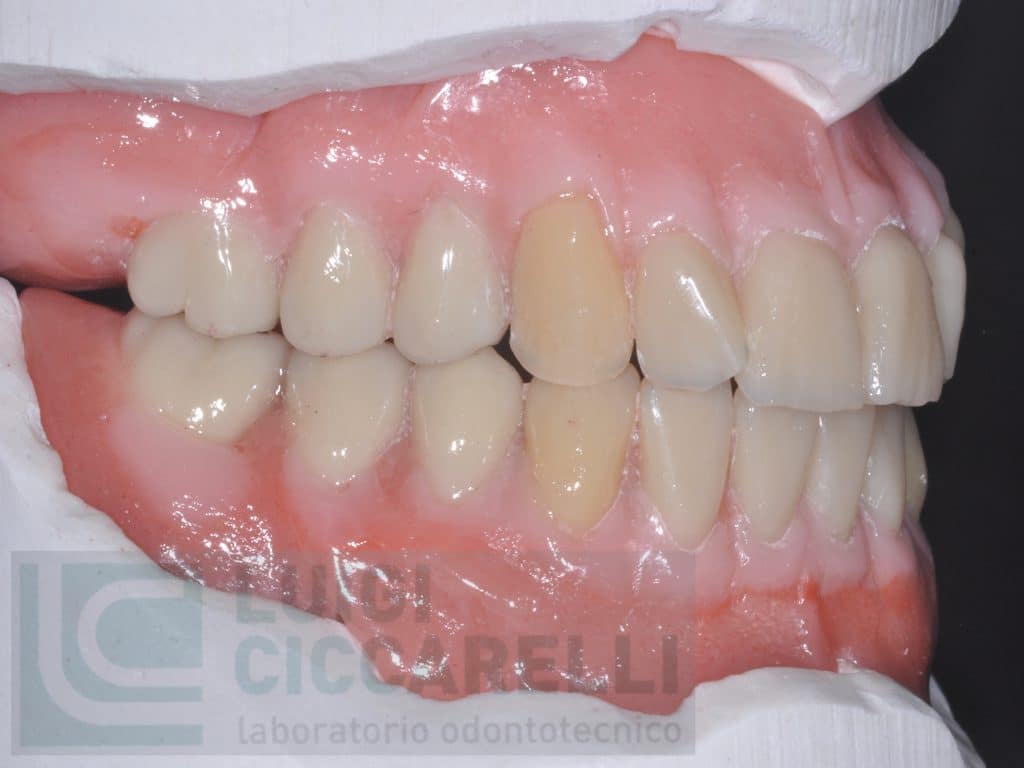
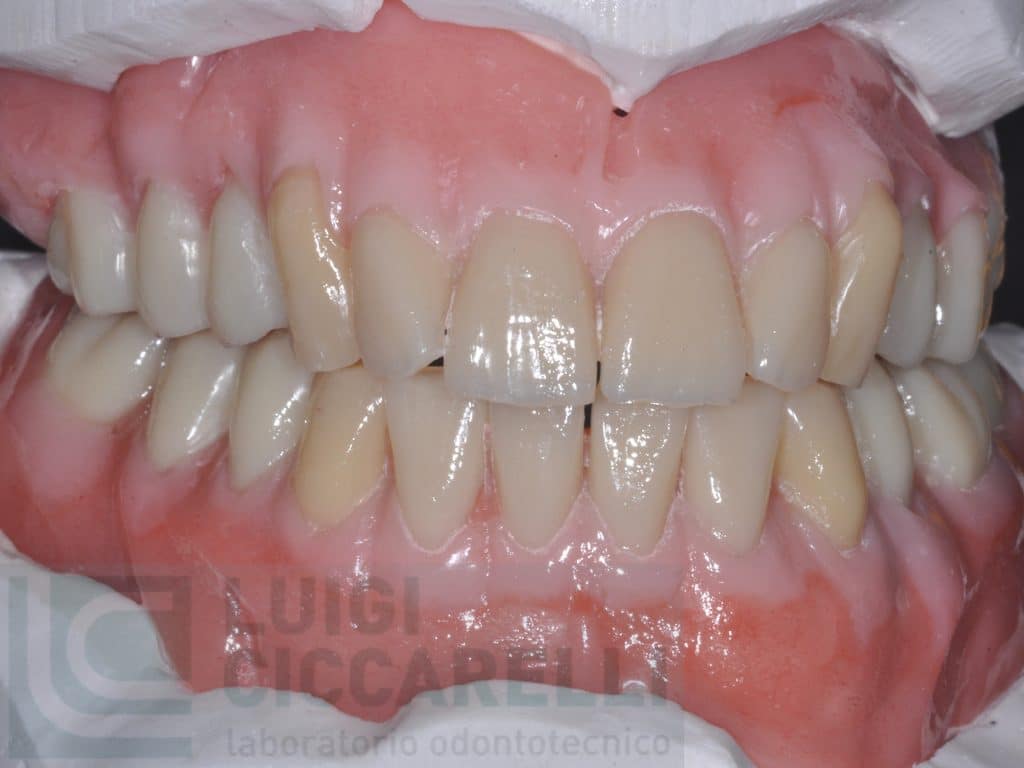
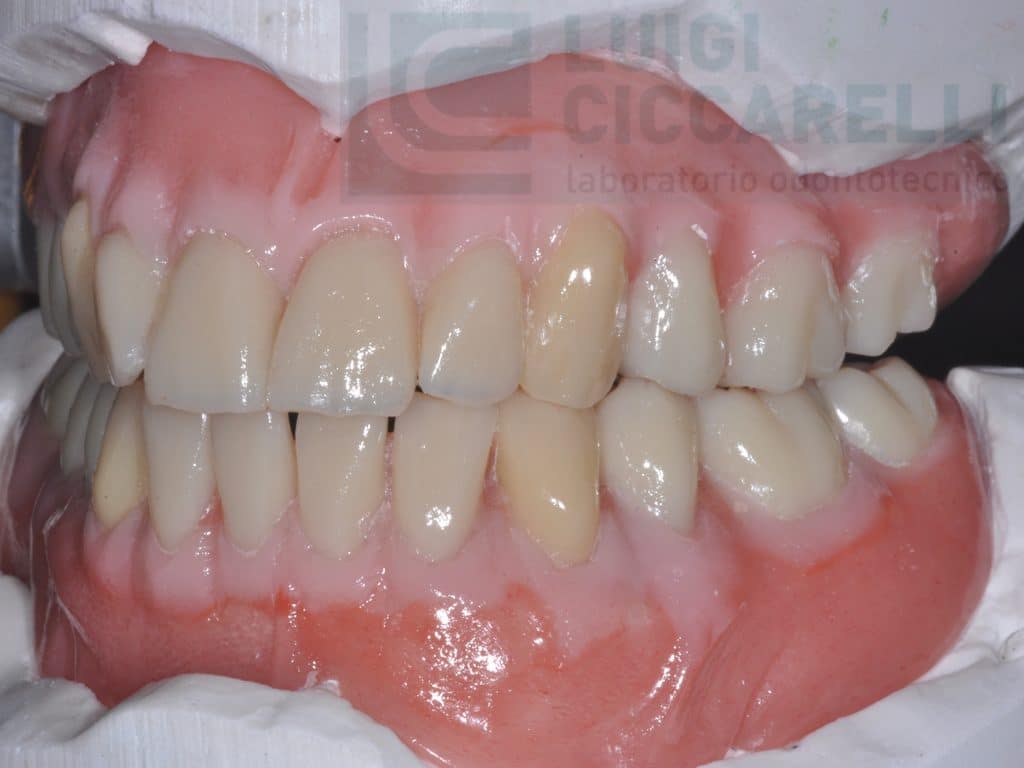
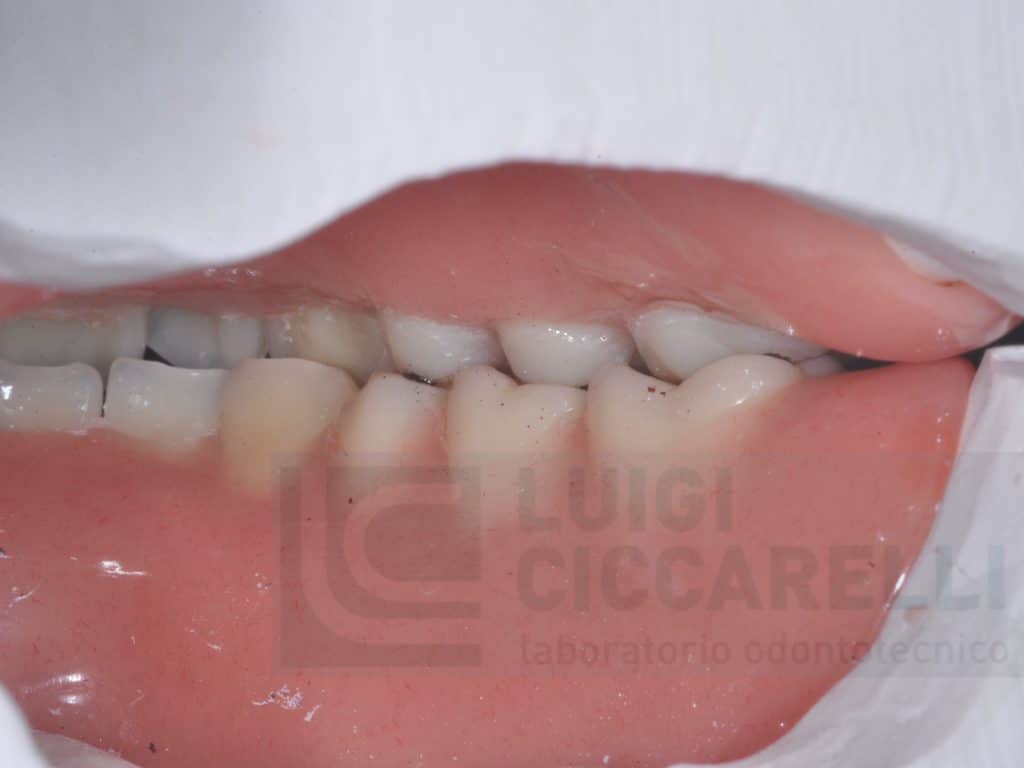
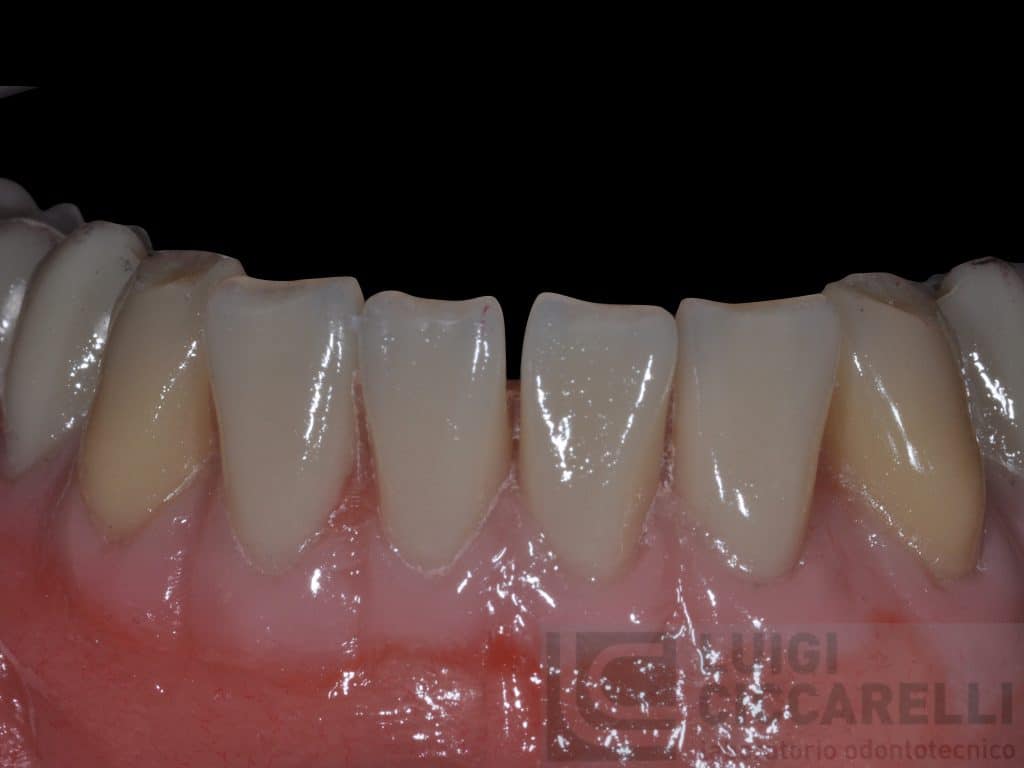
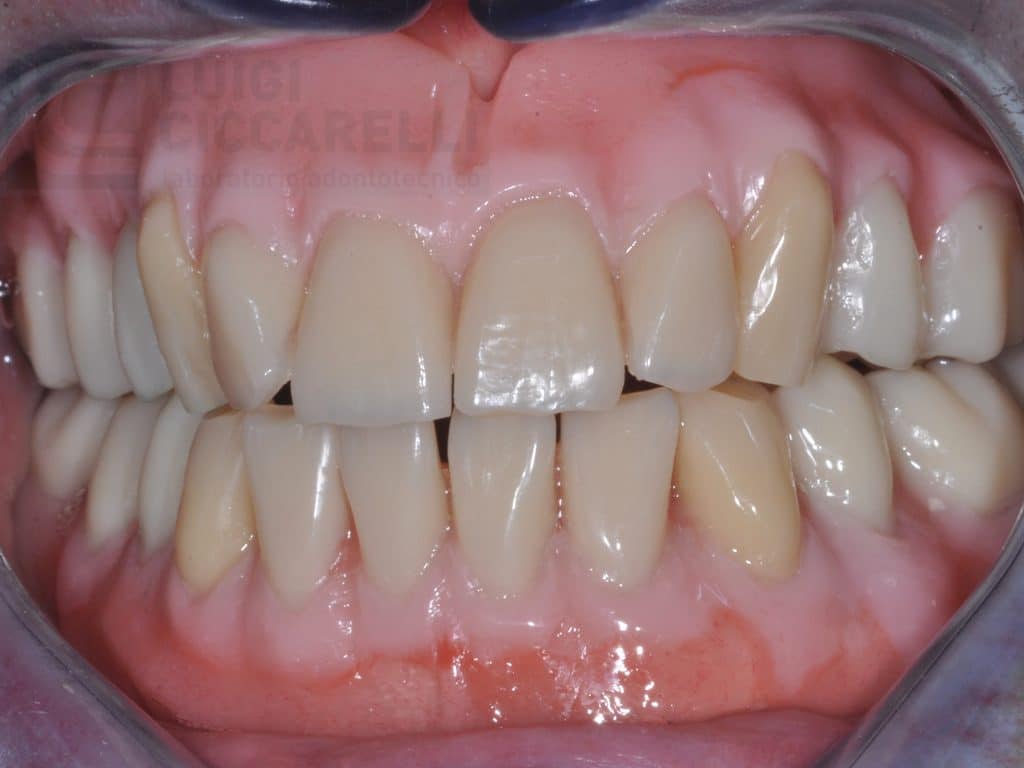
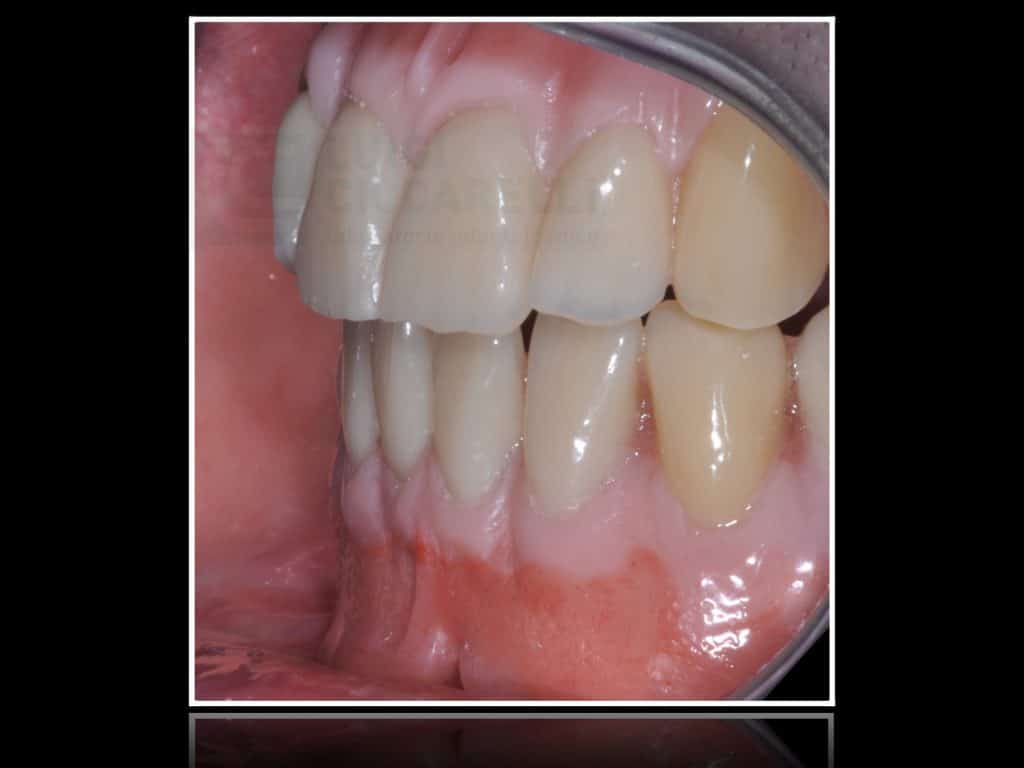
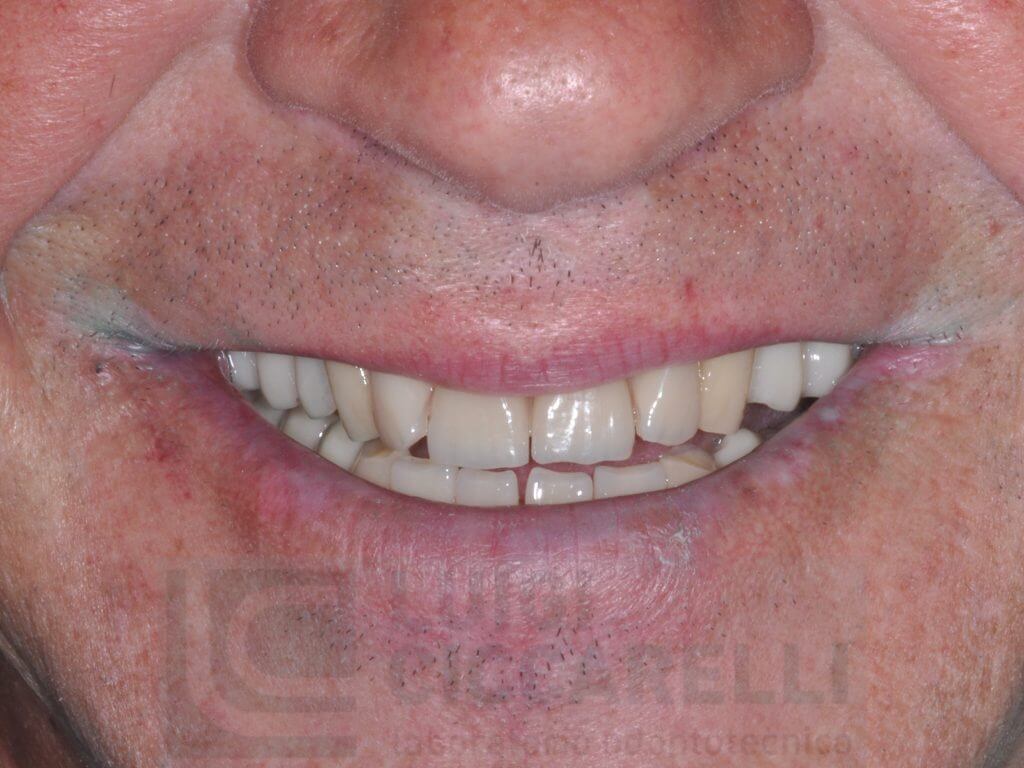
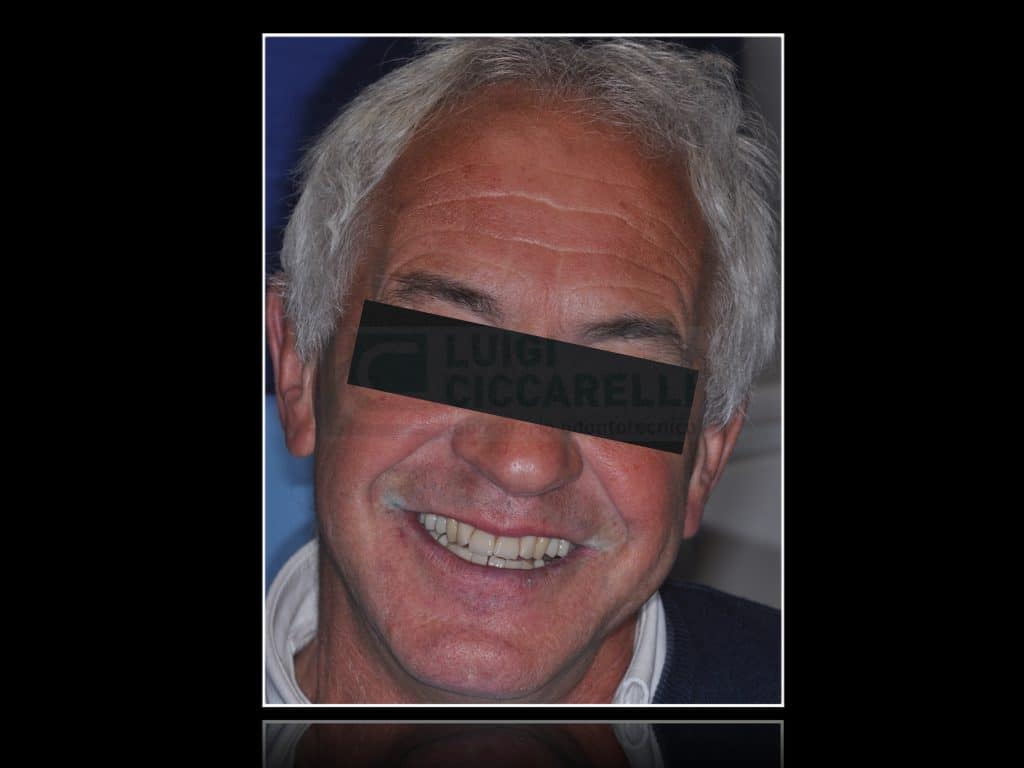
As per the classical procedure, the front sestines are assembled for a clinical aesthetic and phonetic test. The assembly of the posterior teeth is preceded by a phase of analysis of the ridges using a profilometer. This phase is useful for establishing the course of the upper and lower ridges. Our dental elements will be arranged so as to be in contact only where these surfaces are parallel to each other.
The posterior tooth is not chosen at random or by means of a table of shapes but will be carried out with very specific criteria. The function of the posterior tooth is to increase the stability of the prosthesis, give support to the cheek and consequently prevent the patient from biting it and finally from self-cleaning. In the left hemiarchate it can be seen that the functional contact space of the pairs of antagonistic teeth is reduced. Making reference to the previous analysis of the models reported on the external profile of the same, it is evident that the antero-posterior space limits the arrangement of the elements that must not exceed the parallel surfaces between them. Beyond this area they must be mounted in a 3 mm position.
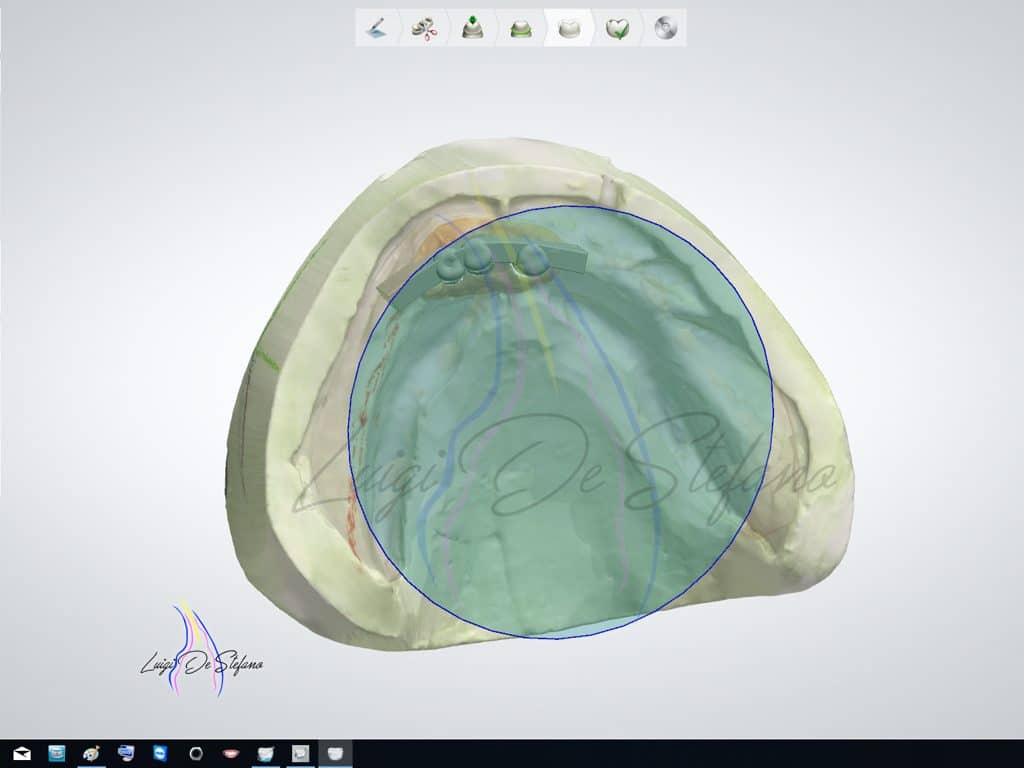
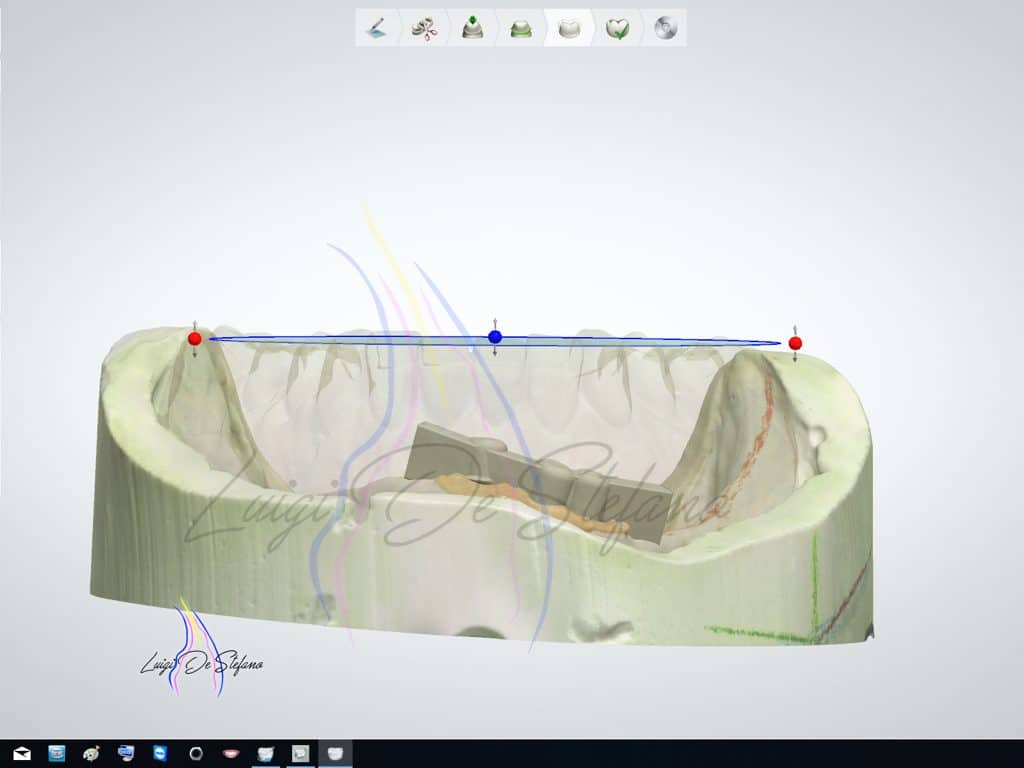
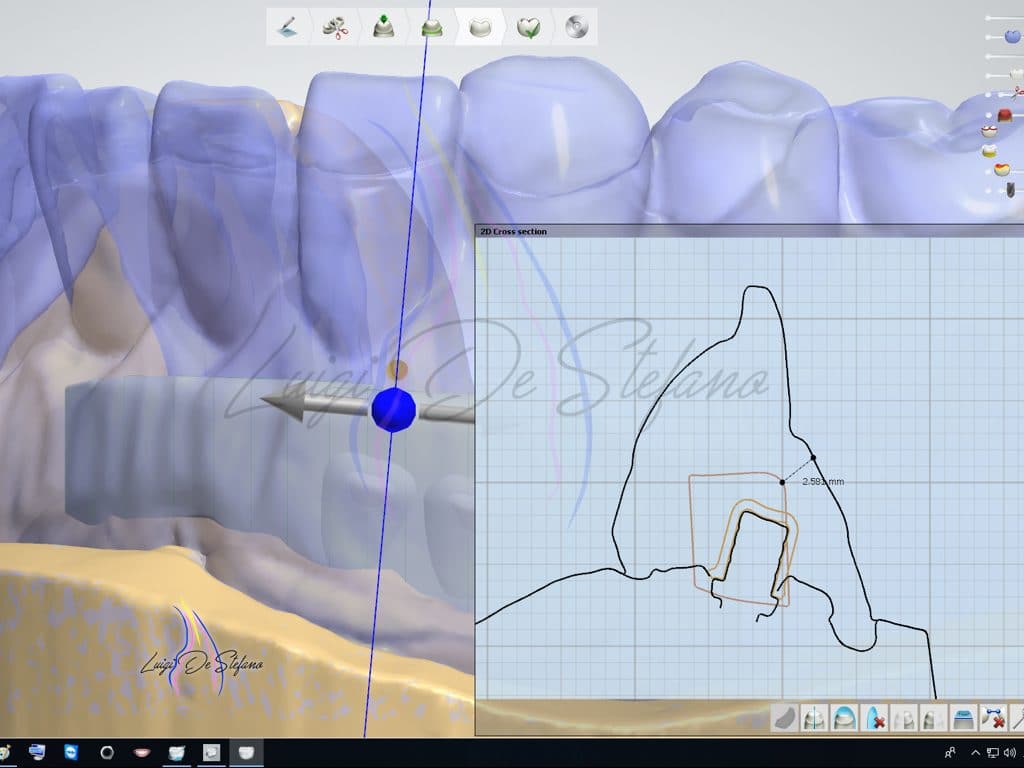
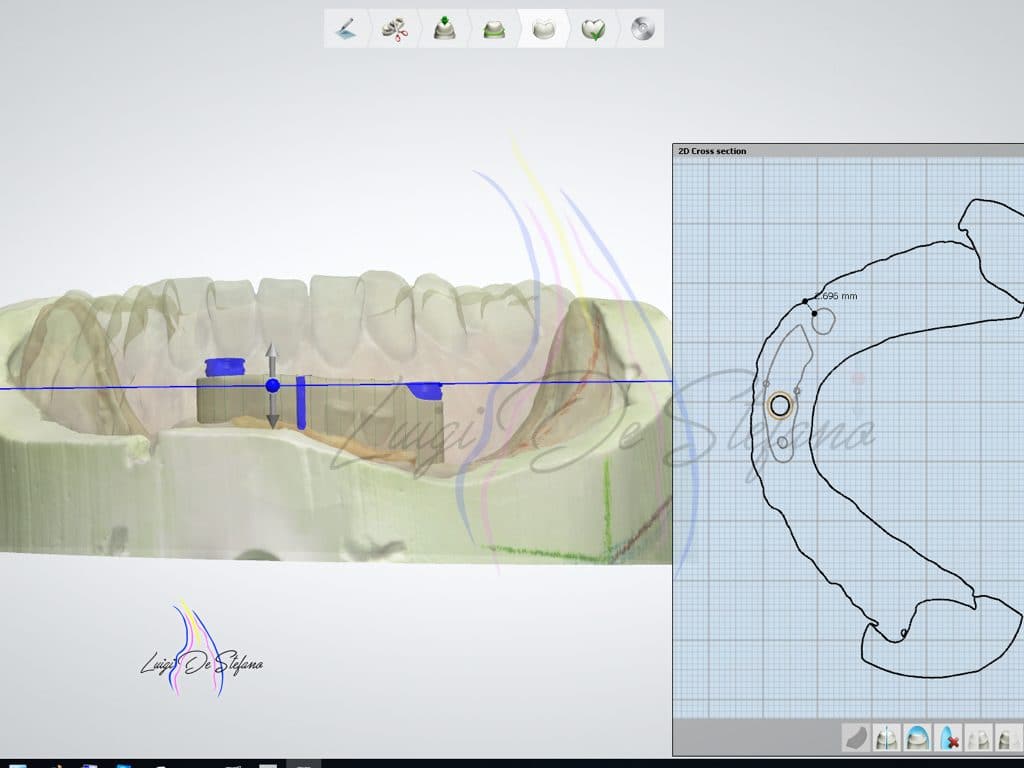
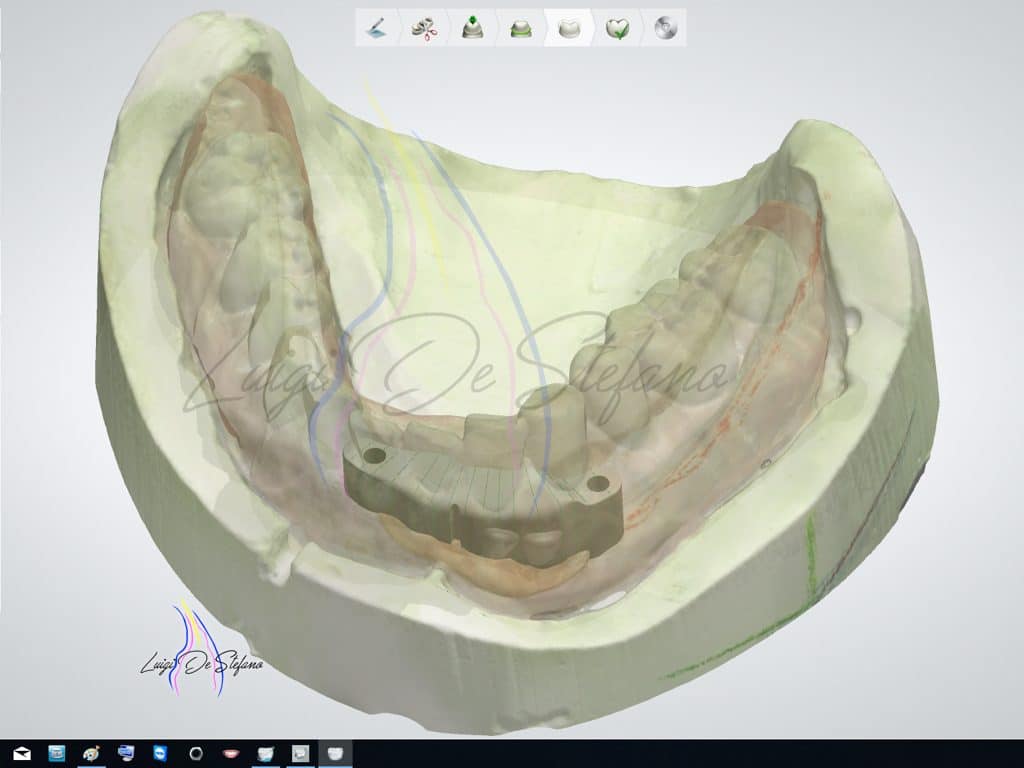
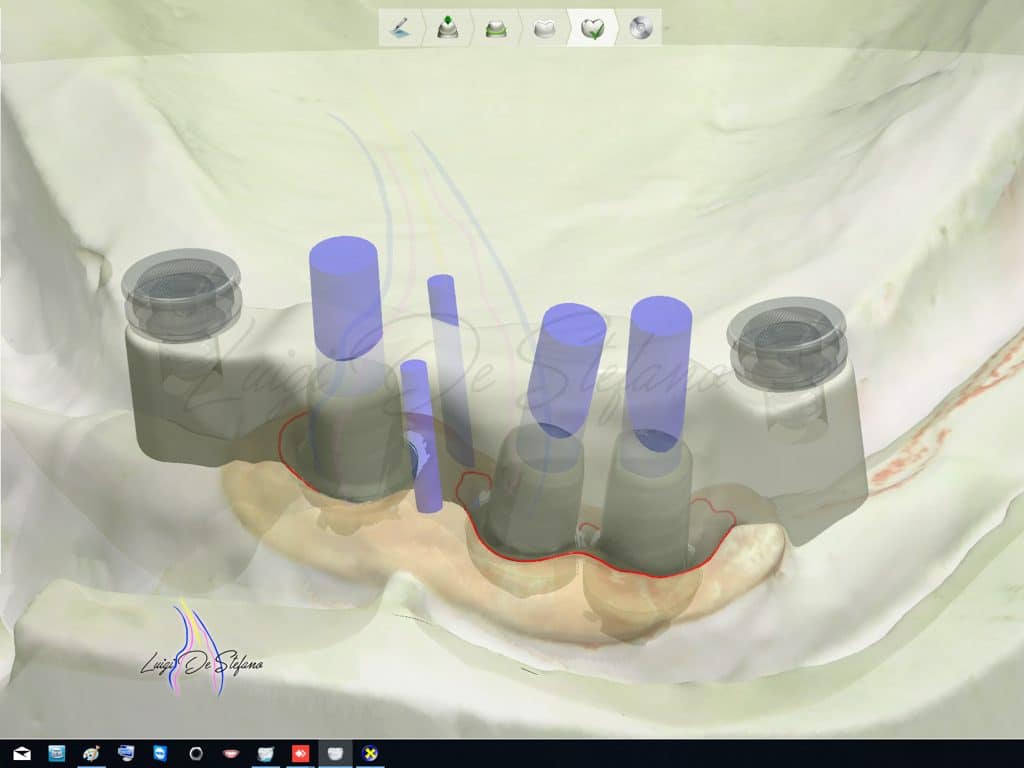
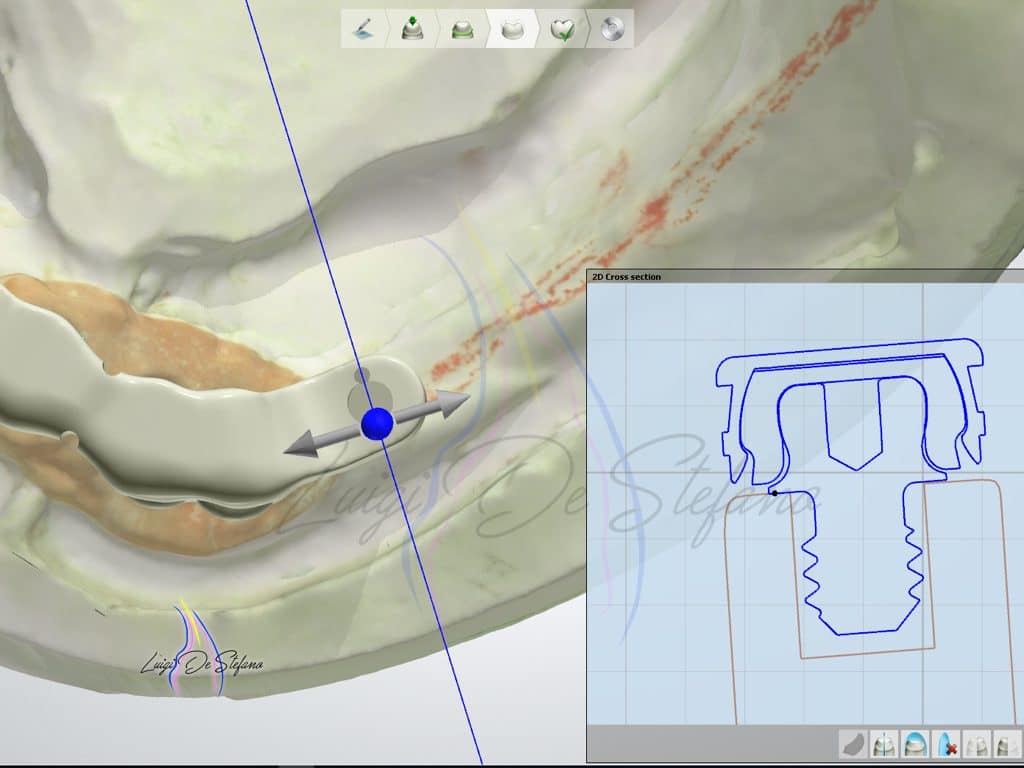
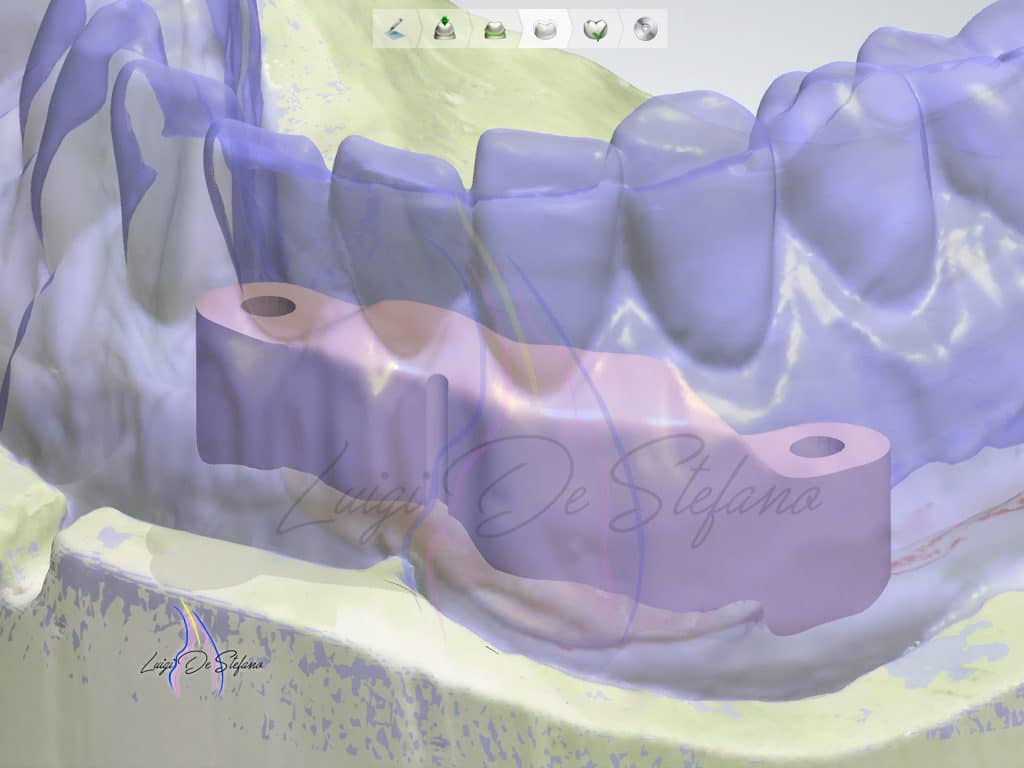
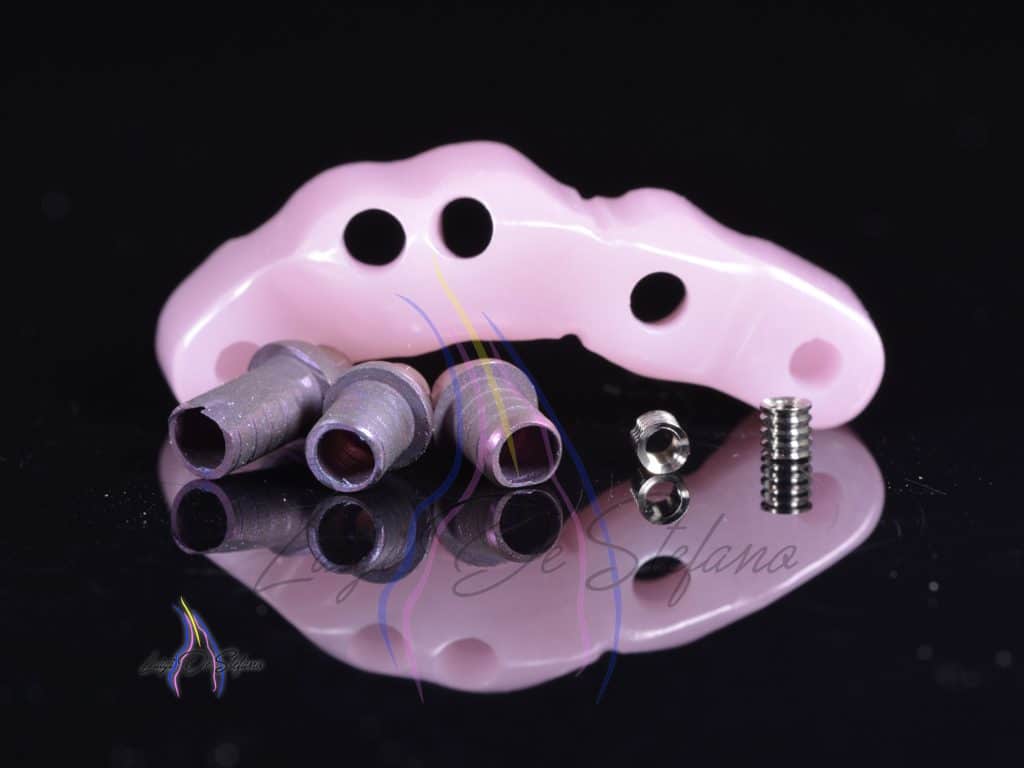
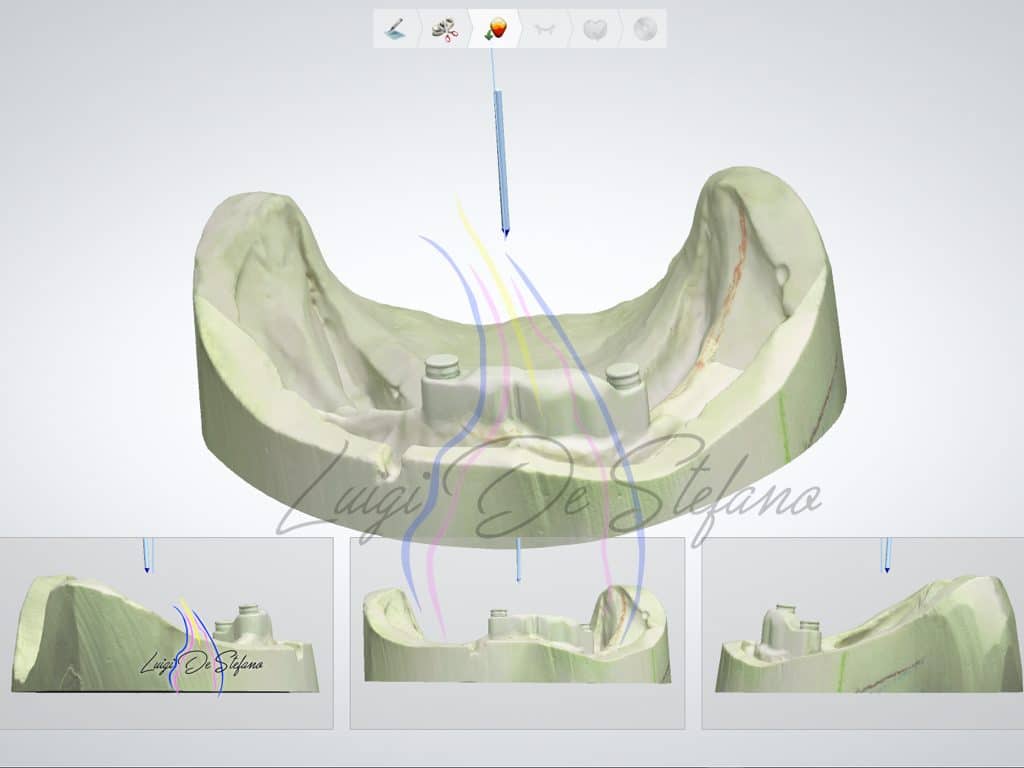
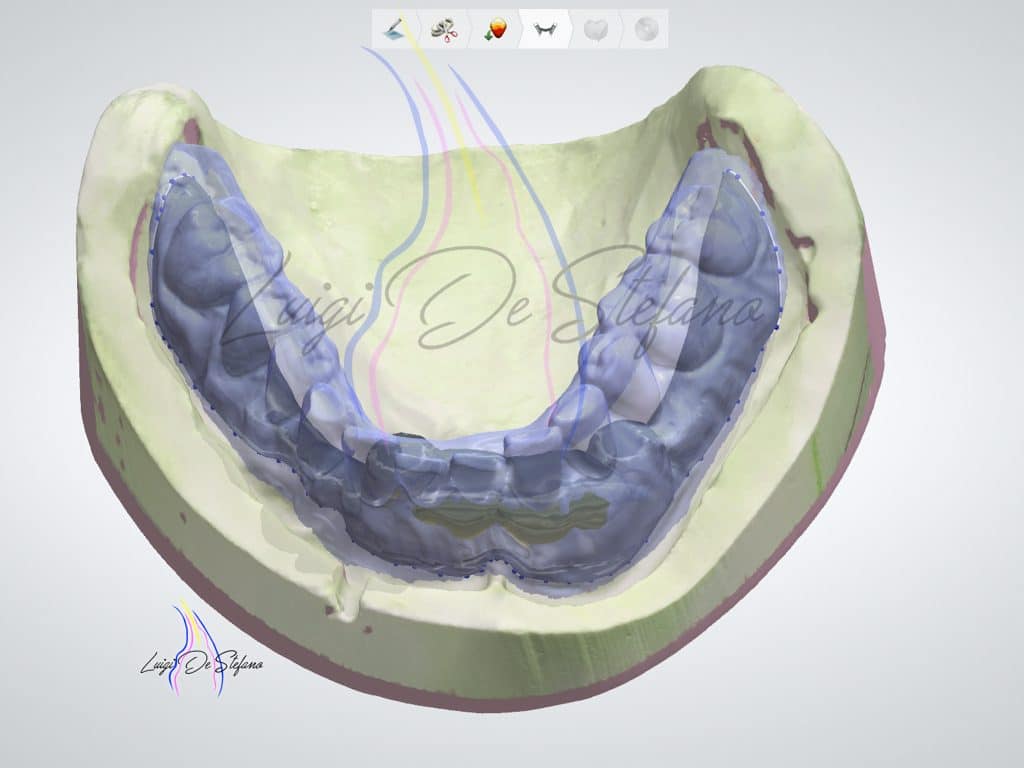
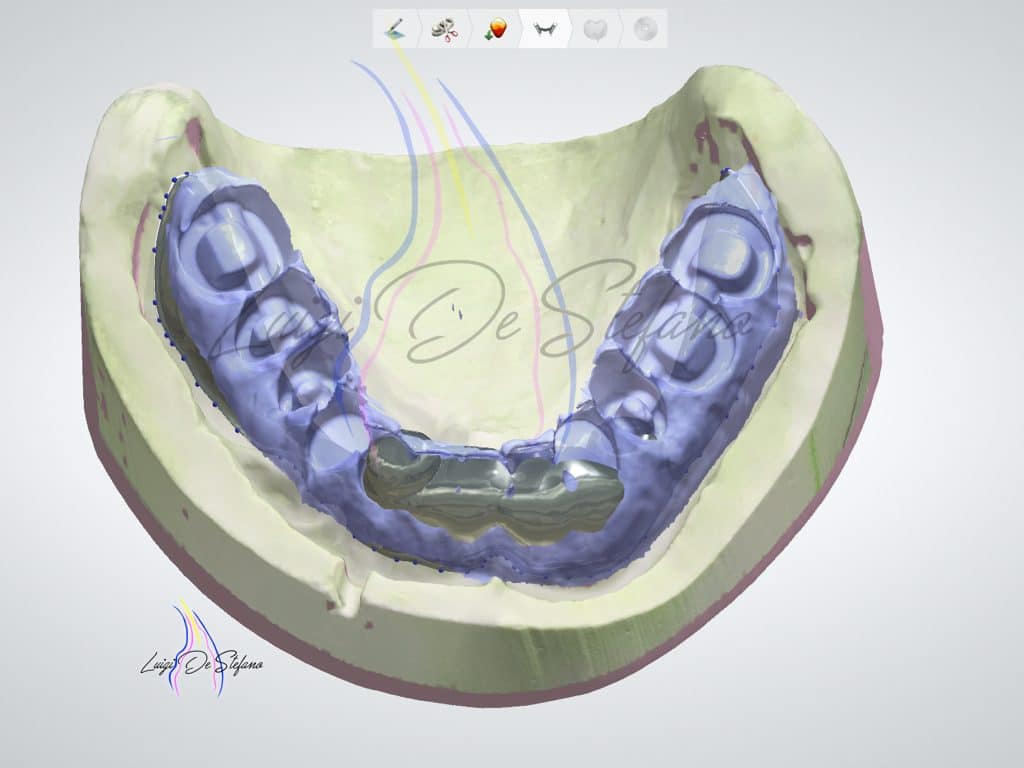
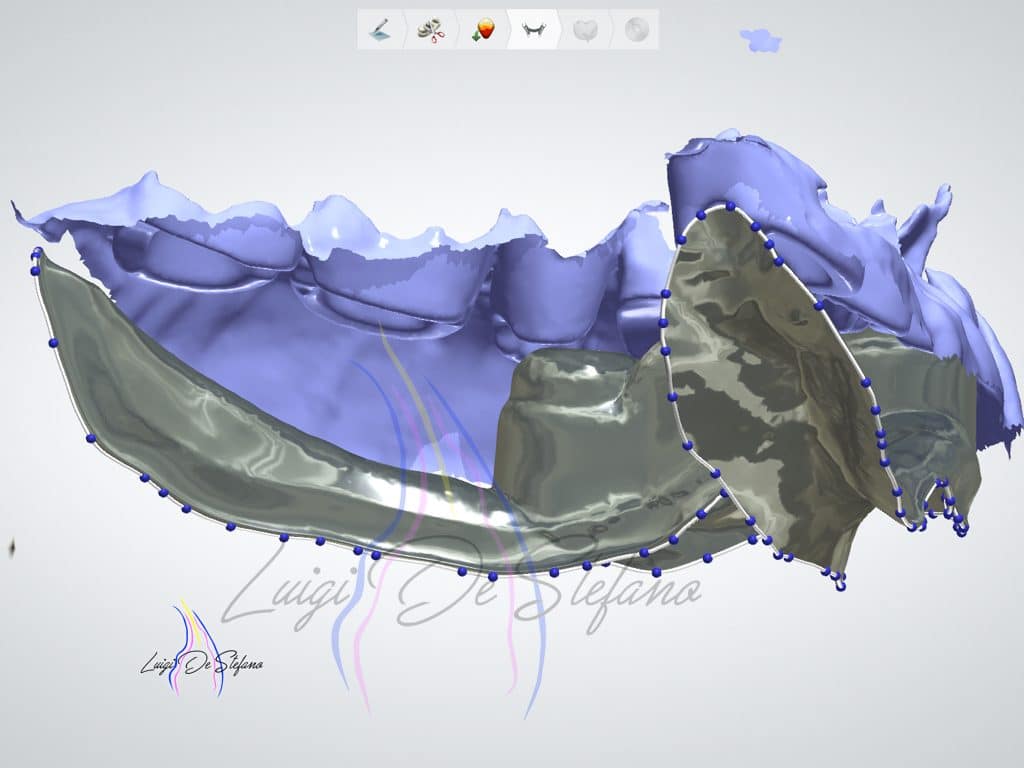
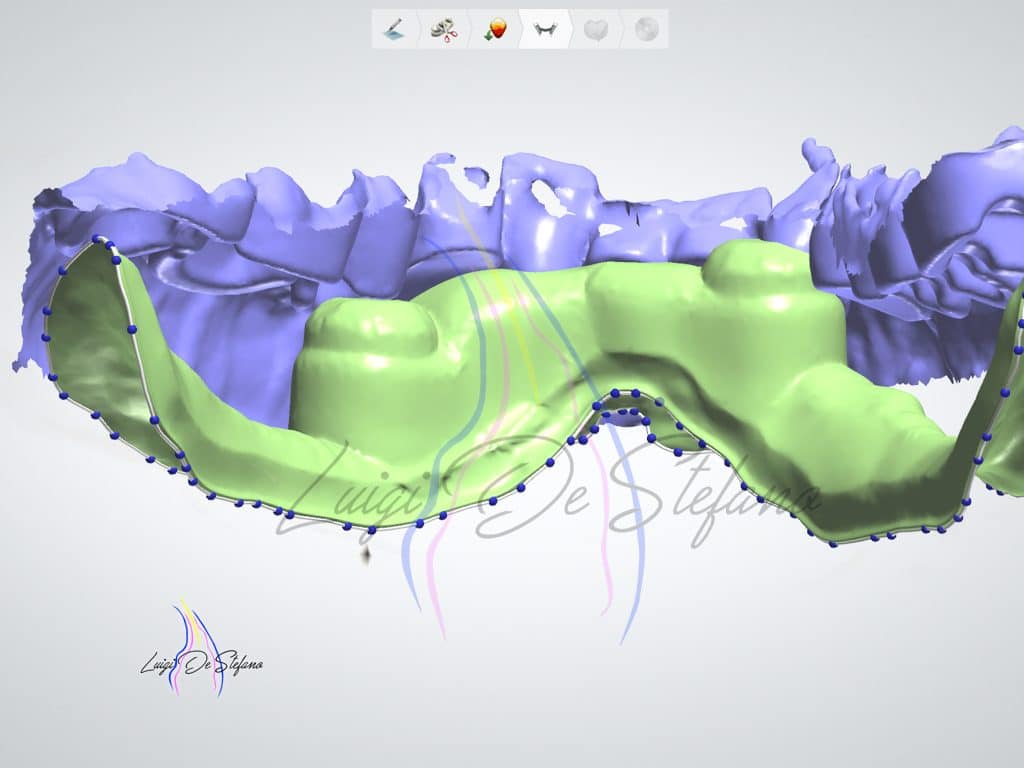
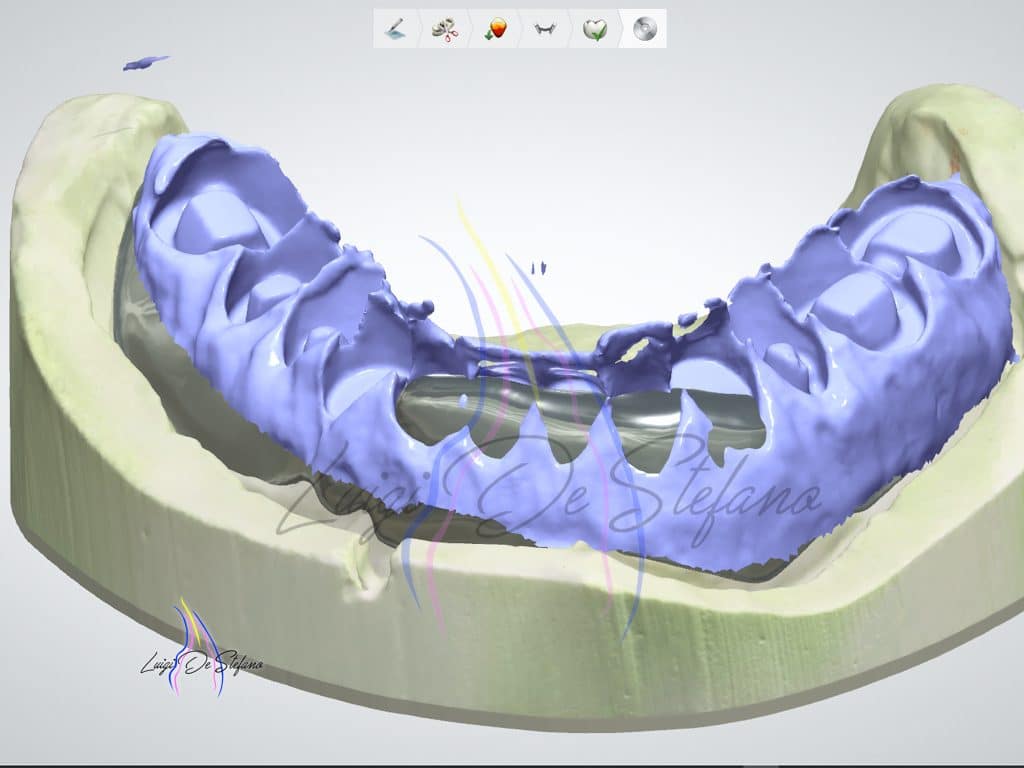
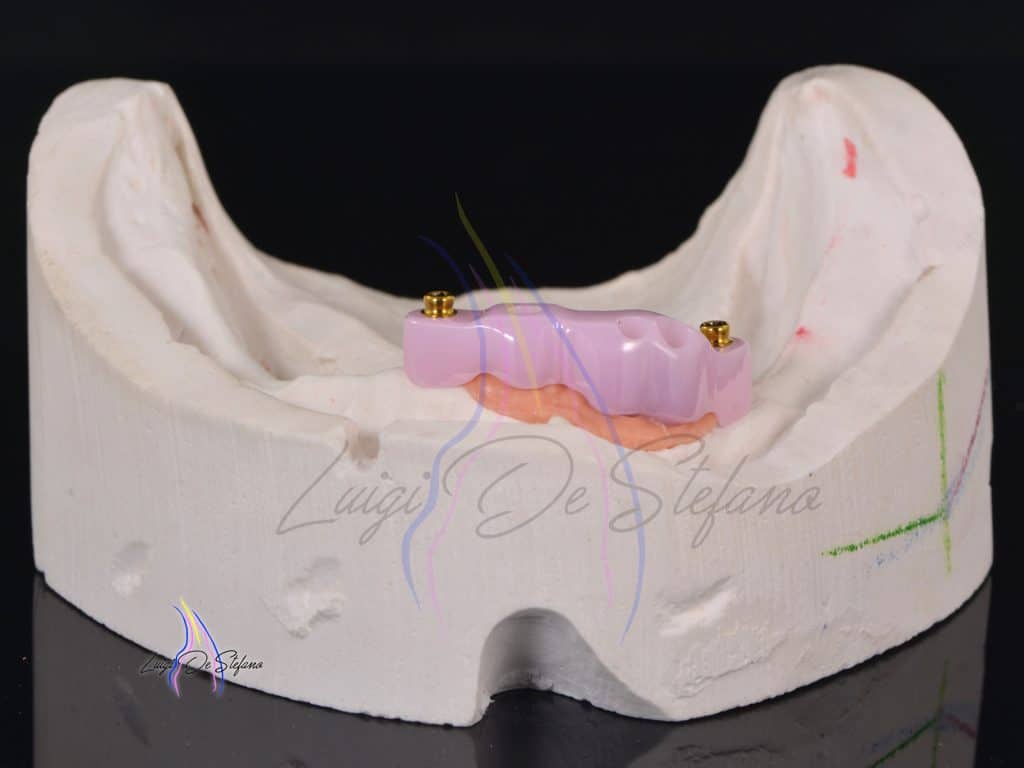
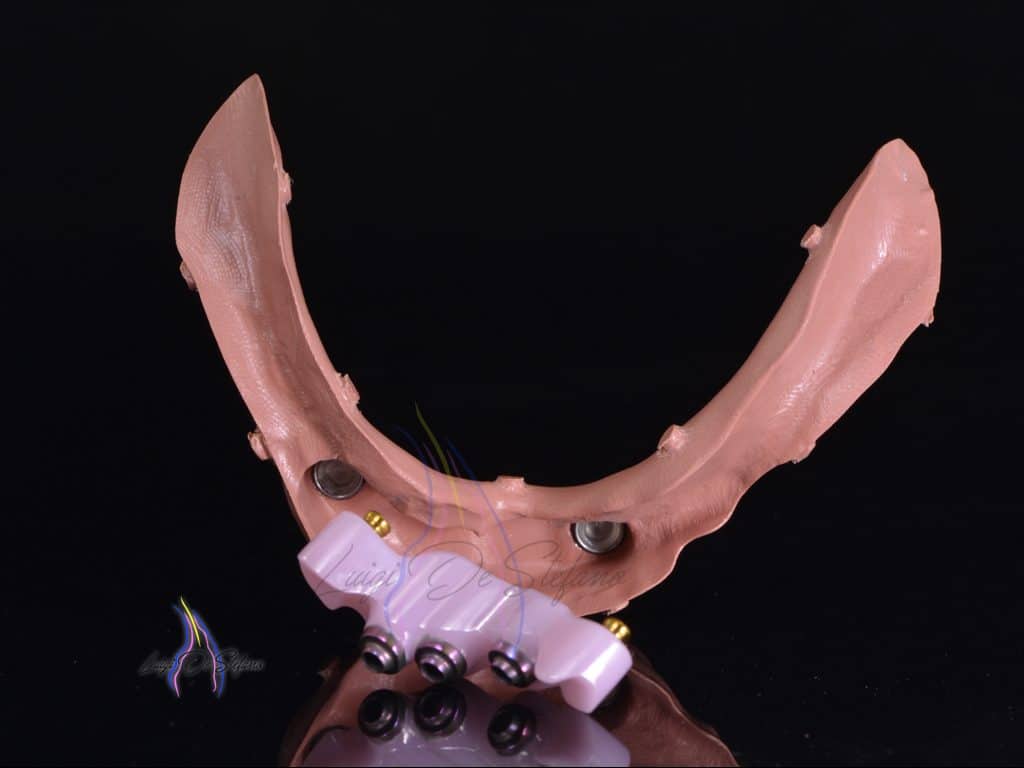
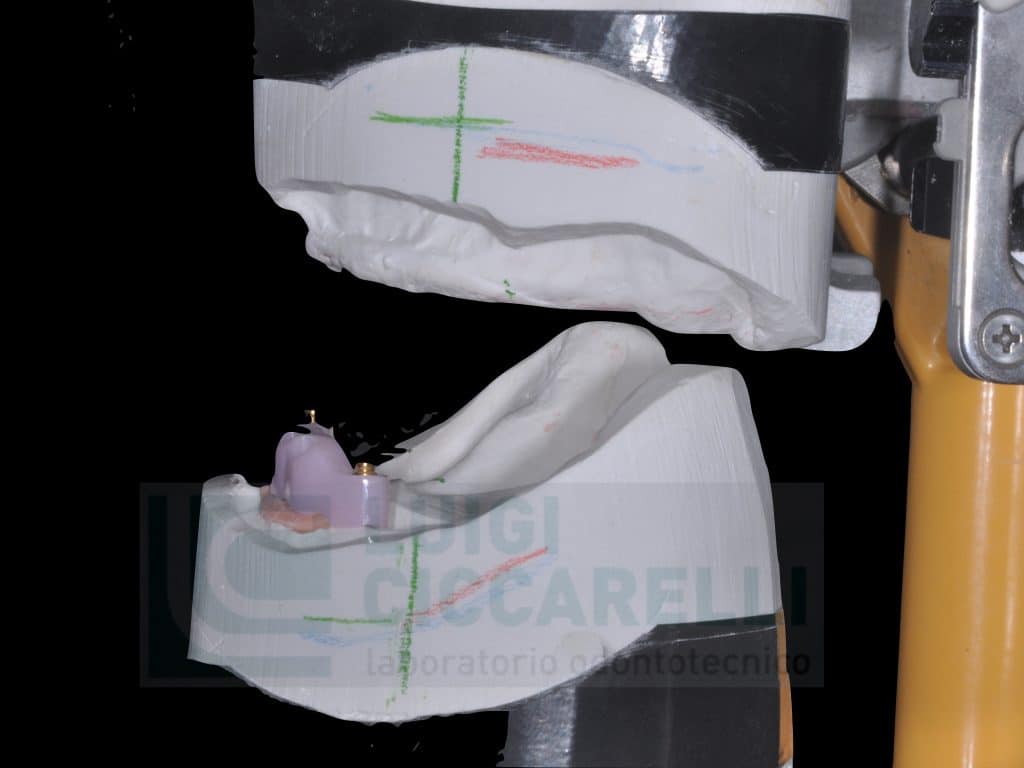
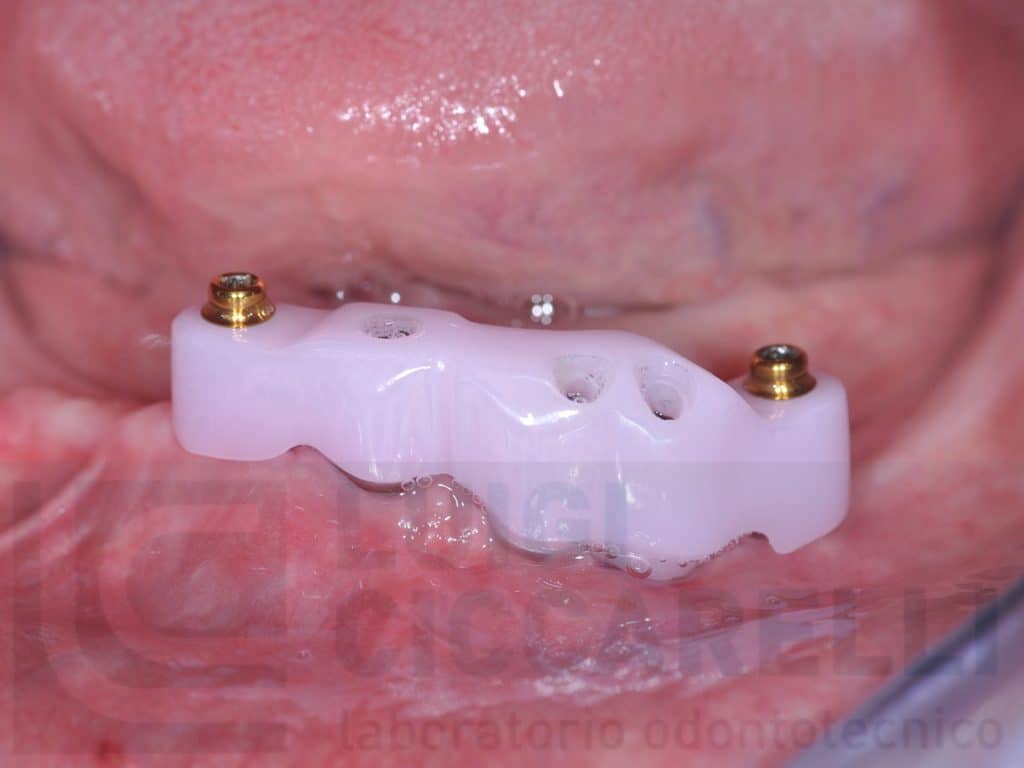
When the prototype of the prosthesis has been realized, it continues with the phases of CAD-CAM design and construction of bar and counterpart. For this phase it is essential to know the final volumes of the prosthesis, the occlusal plane, the position of the mounted teeth and the precise position of the fixtures. The acquisition of the various elements by scanner allows us to manage the design of the bar in a digital environment. The occlusal plane is an indispensable reference to be able to orient the plane of the structure with respect to it, this will allow a functional stability and a comfortable insertion. The design will be contained, as far as possible, within the prosthetic volumes. It was decided to use Zirconium dioxide to make the bar and cemented Titanium turrets for fixtures, this choice is linked to reasons of biocompatibility and passivity of the structure as well as the possibility of performing direct processing. The project foresees on the distal extensions the insertion of threaded “Equator” type connections that can be screwed with bushings to be cemented complete with baskets for matrixing in the secondary part. The bindings must be positioned at the same height for good stability. In this case, the reduced spaces in height forced us to position one a little lower than the other in order to preserve the minimum thickness of the sections.
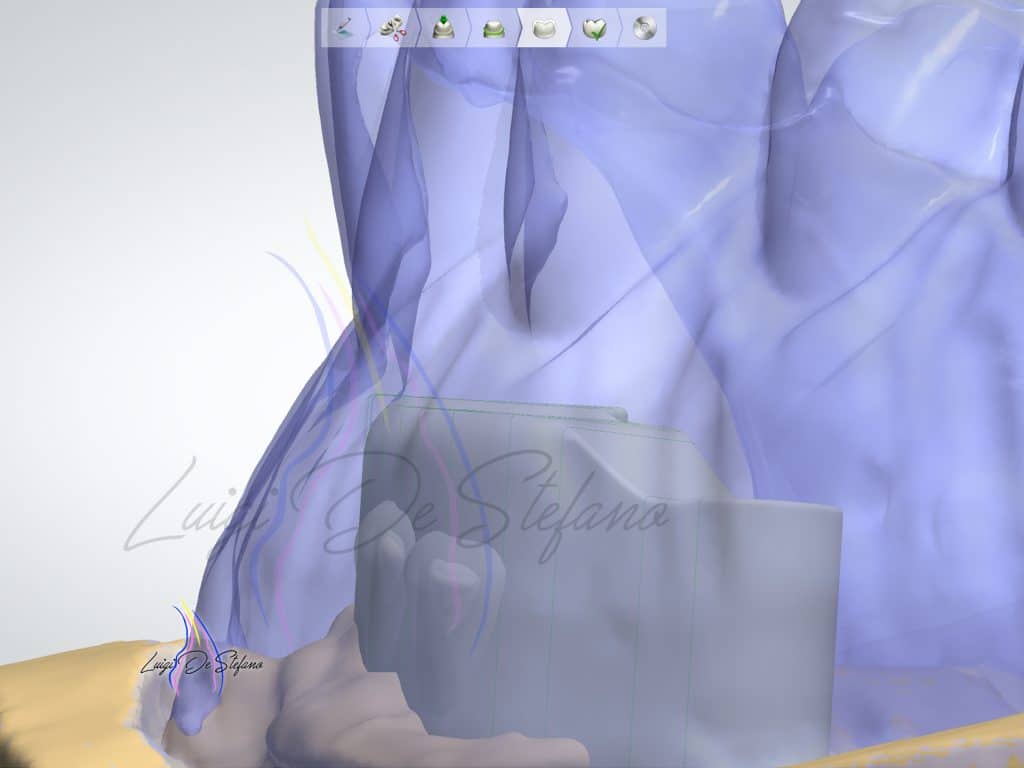
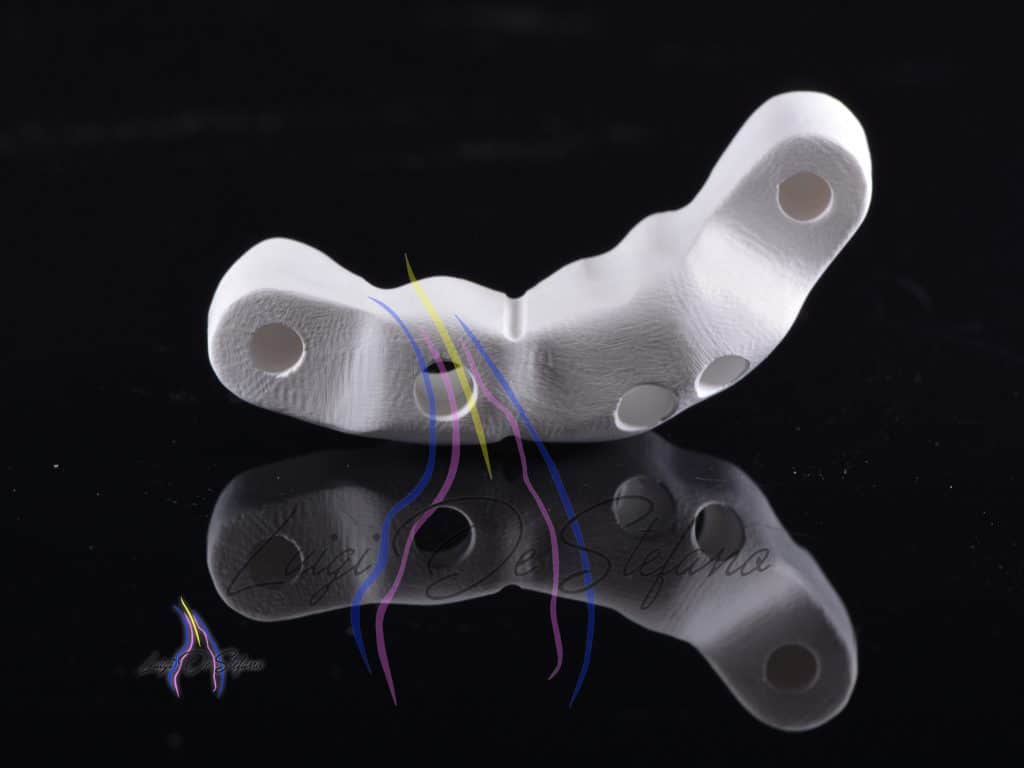
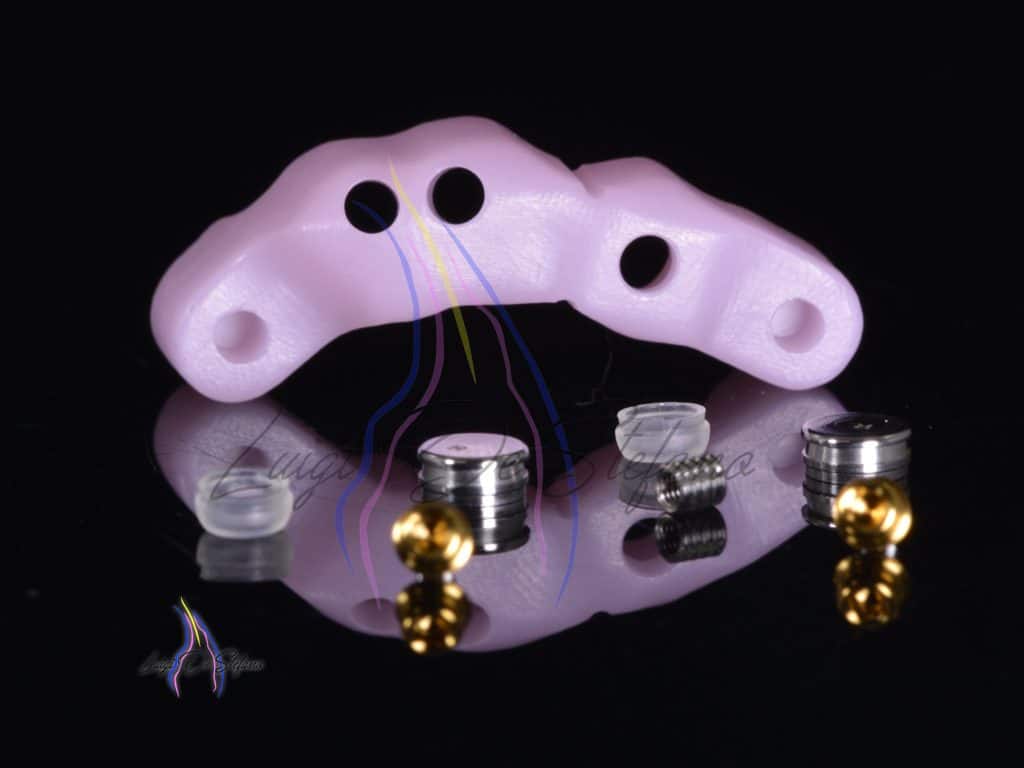
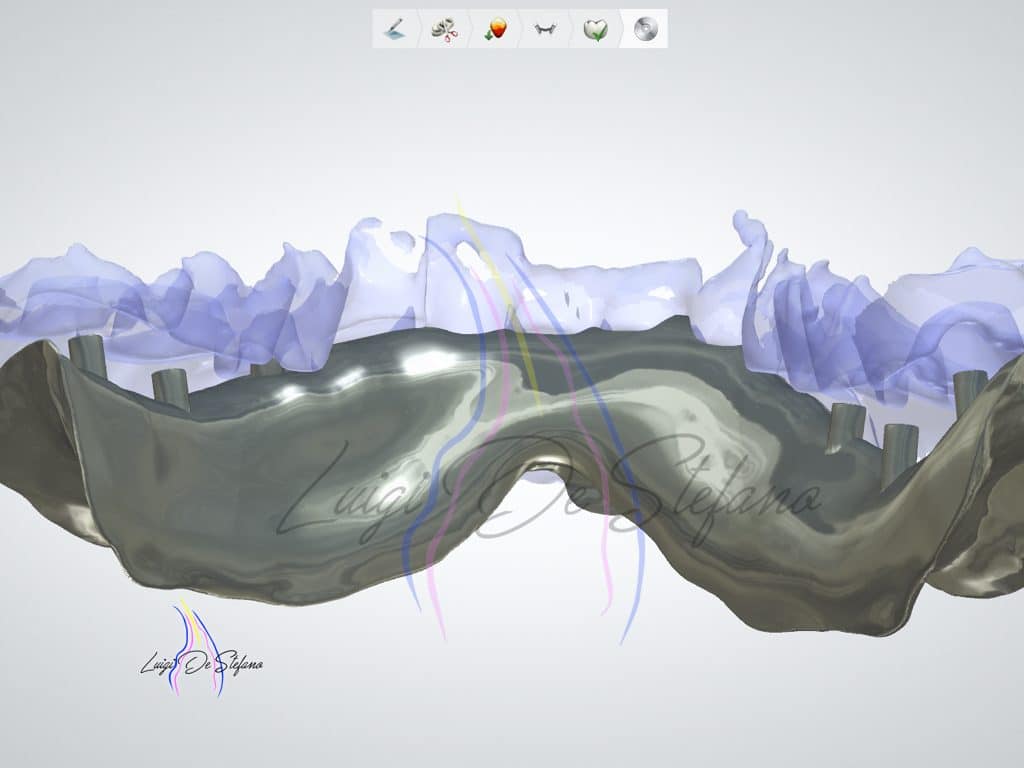
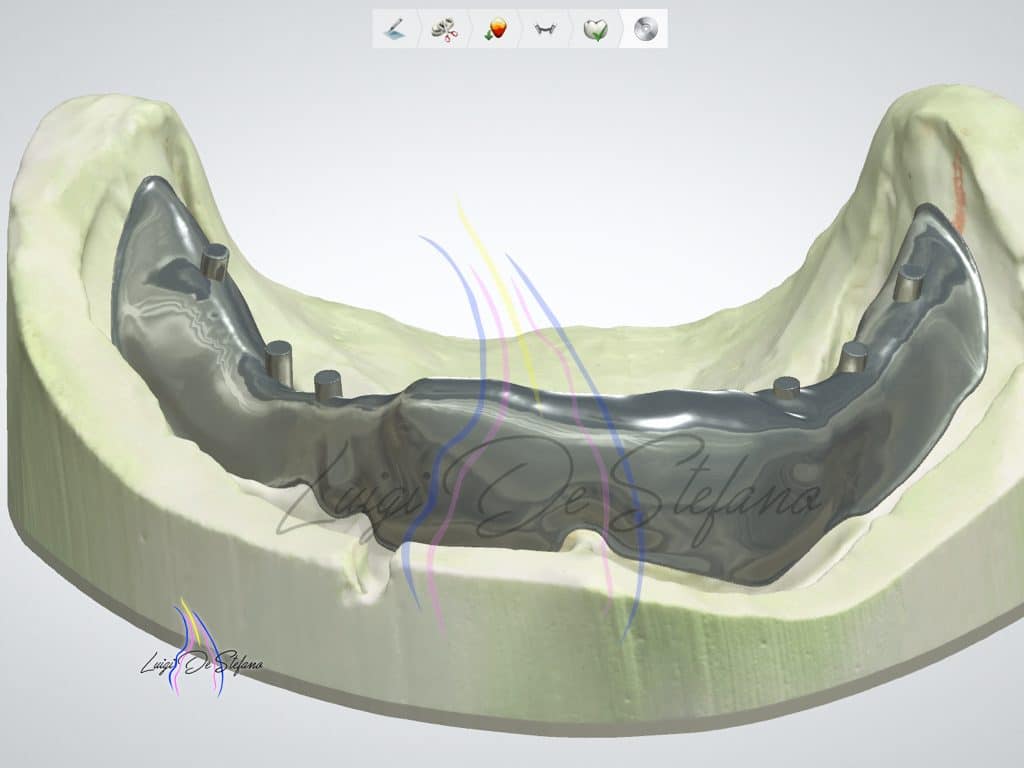
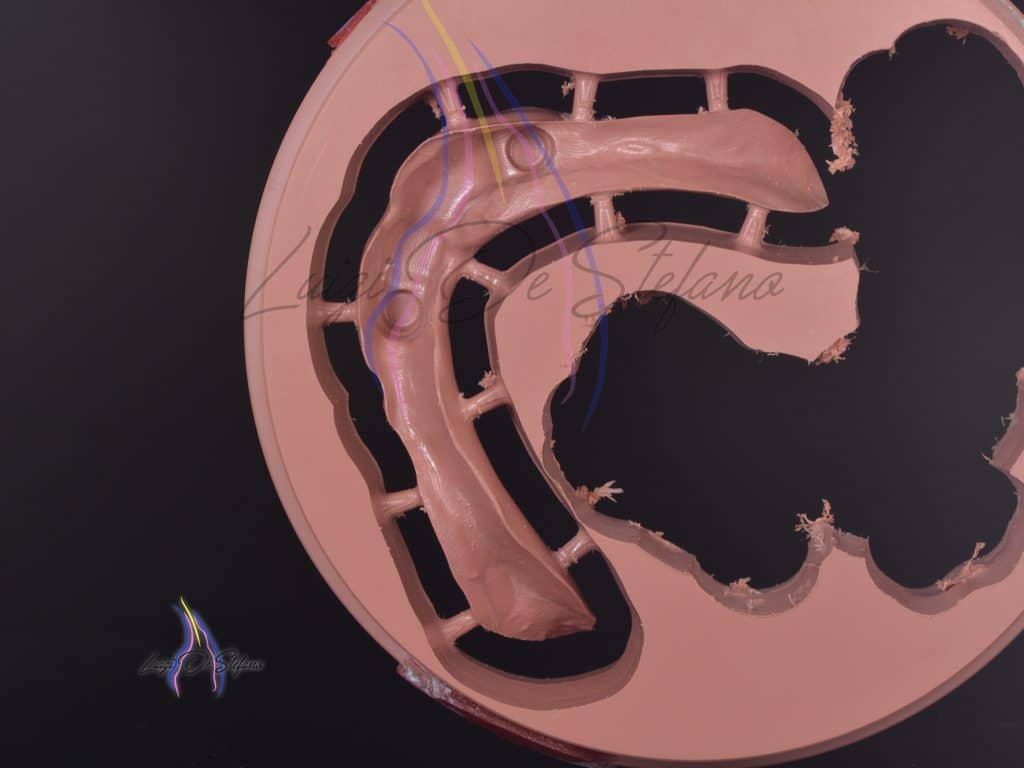
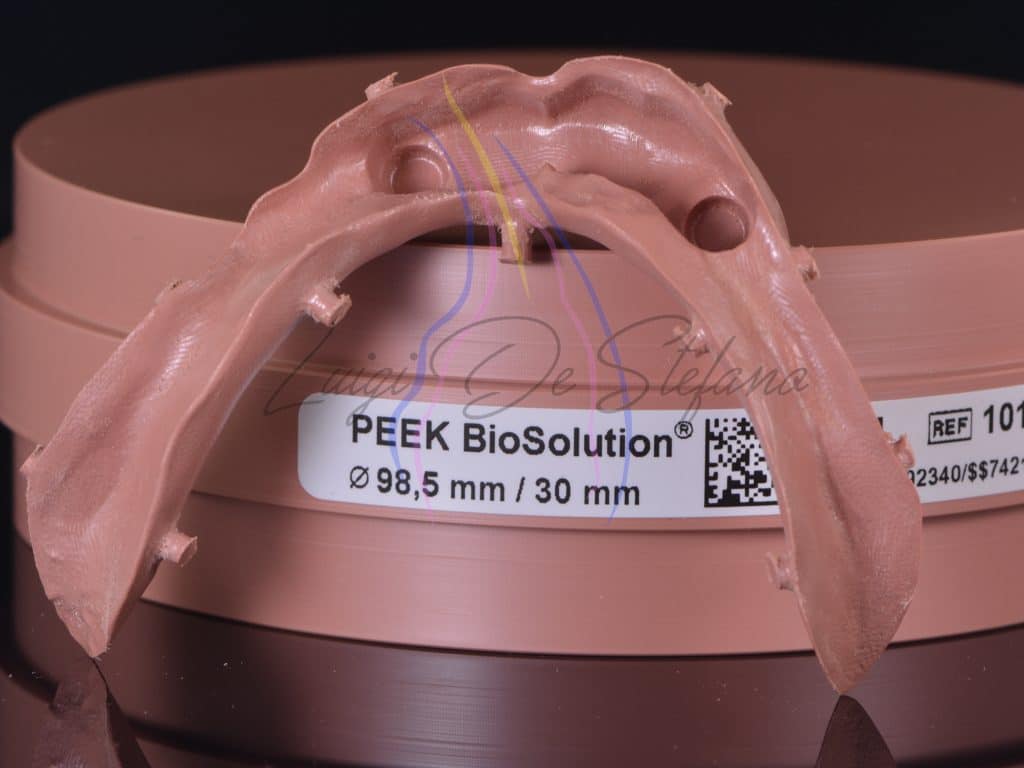
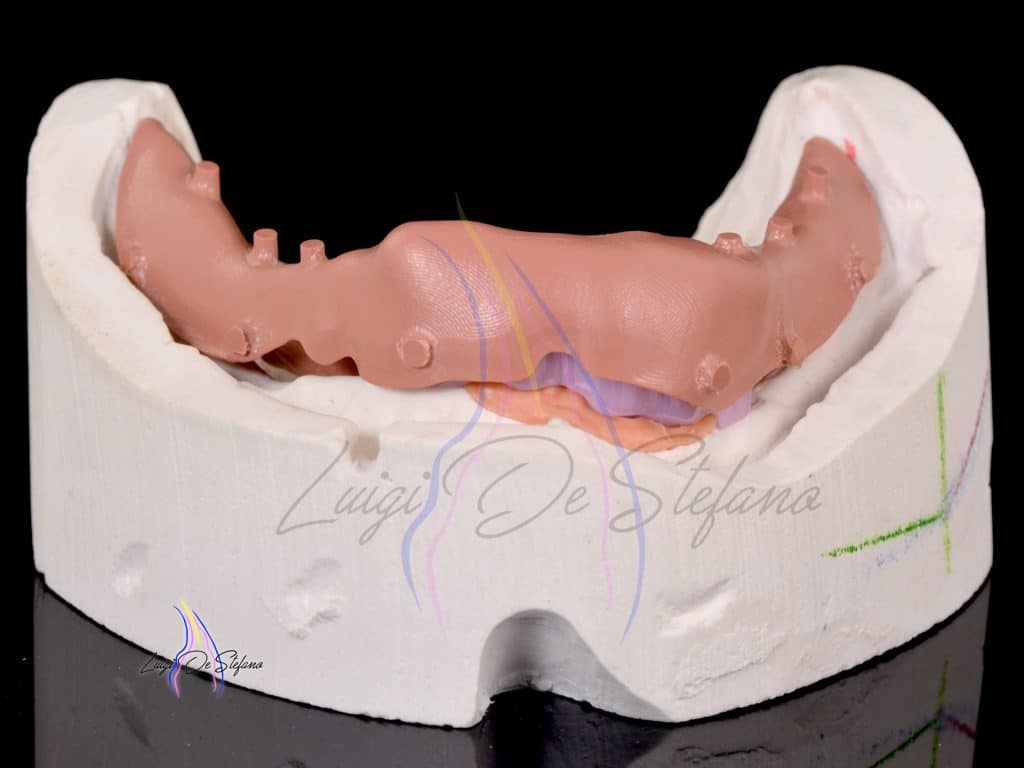
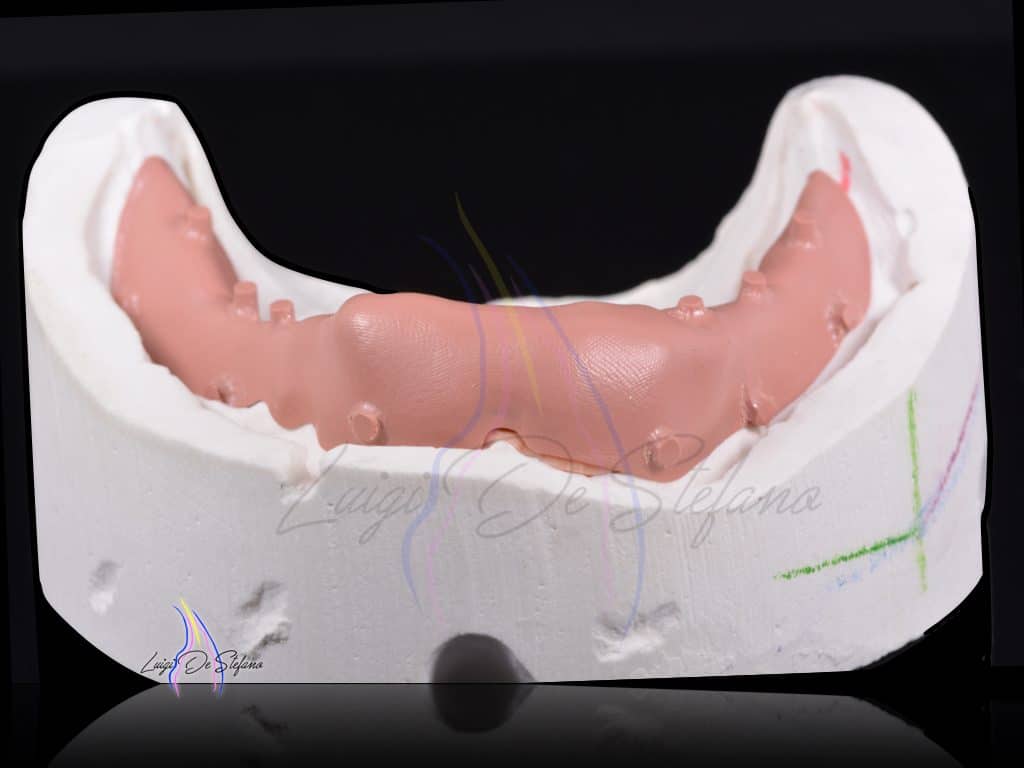
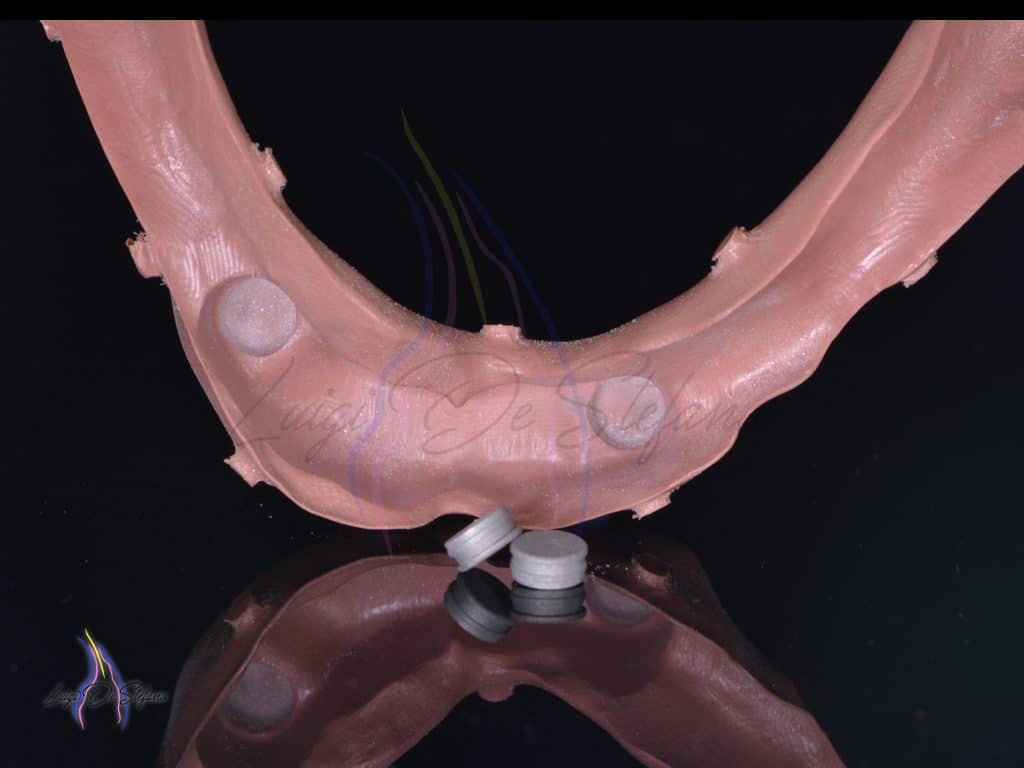
To support stability, coulisse coulisse were made and it was decided to use a material for the secondary that could rub on the walls of Zirconia dioxide, have high biocompatibility and adequate elastic modulus. PEEK BioSolution was the choice to build the counterpart on the bar. Once the zirconium dioxide structure is finished and polished, the parts are conditioned. Zirconia, threaded steel bushings for Equator and Titanium turrets have been sandblasted in the designated areas, the latter also anodised. These areas are treated with surface conditioners to improve adhesion and perform dual or anaerobic cementation of the components. The secondary project is developed within the limits of the volumes dictated by the prosthesis with surfaces adherent to the saddles and friction areas on the bar. Under the caterpillars of the diatoricos, pins have been prepared to increase stability and retention. The design is linear and free of obvious retentions. PEEK is a polymer, Polietereterketone the surface is used to reactivate the lattice with sandblasting and Acrylic Bonder both to fix the carriers and is subsequently for resin coating. The bar is ready, turrets and bushings have been cemented, the attachments are screwed, carriers are fixed in the counterpart and low retention matrices are inserted. The Peek clutch is discreet, it is felt during the guided and safe positioning until the attacks are released.
DISCUSSION To carry out similar works we can use innumerable techniques and technologies. The market allows us to draw on a wide range of materials and combinations, all valid and punishable. For the assembly technique … Zirconia and PEEK have been chosen for their physical characteristics and biocompatibility, for the possibility of direct management of milling of the tender, for the simple and safe passivation of the structure and also pleasant from the aesthetic point of view, from this point of view the metal has a greater visual impact especially for the patient. PEEK Biosolution has a class 2b certification and its use for secondary parts has been adopted with satisfaction for some time. Stable over time, it retains friction and elasticity in the prepared areas, it has a satisfactory rigidity tied to the thicknesses that are easily managed through a suitable design. We can choose in different colors: pink, A2-3 dentine, white. Another interesting aesthetic detail is that it does not write, like alloys and metals, on the friction surface of Zirconia that remains clean and pleasing to the eye. CONCLUSIONS As with all medical devices that are realized, nothing is taken for granted. We try to program, analyze, select and choose materials and procedures to get the desired results. In this case-report the techniques and the motivations on the merchandise choices have been briefly described, trying to offer with linearity and simplicity what has been achieved in several hands
MATERIALS LEGEND
PEEK BioSolution pink, Merz dental M-ZR zirconia HT 1250 Mp, Merz dental OT Equator, Rhein 83
BIBLIOGRAFIA
Clinical Implant Dentistry and Related Research Volume 00, Number 00, 2016
Dental Materials/Dentistry Braz. Oral Res. 2017;31(suppl)-e58
DM 2011_27_113
Int J Periodontics Restorat Dent_Fabbri abutment 2016
gler2017
Int J Periodontics Restorat Dent_Fabbri abutment 2016
J Mech Behav Biomed Mater 2016
JPD 2017 sopravvivenza di 2039 arcate fisse in Zr
JPD proprierà ottiche ZrO2
Katafuchi_et_al-2018-Journal_of_Clinical_Periodontology
Materials Zirconia come un biomateriale dentale.pages


Share on: