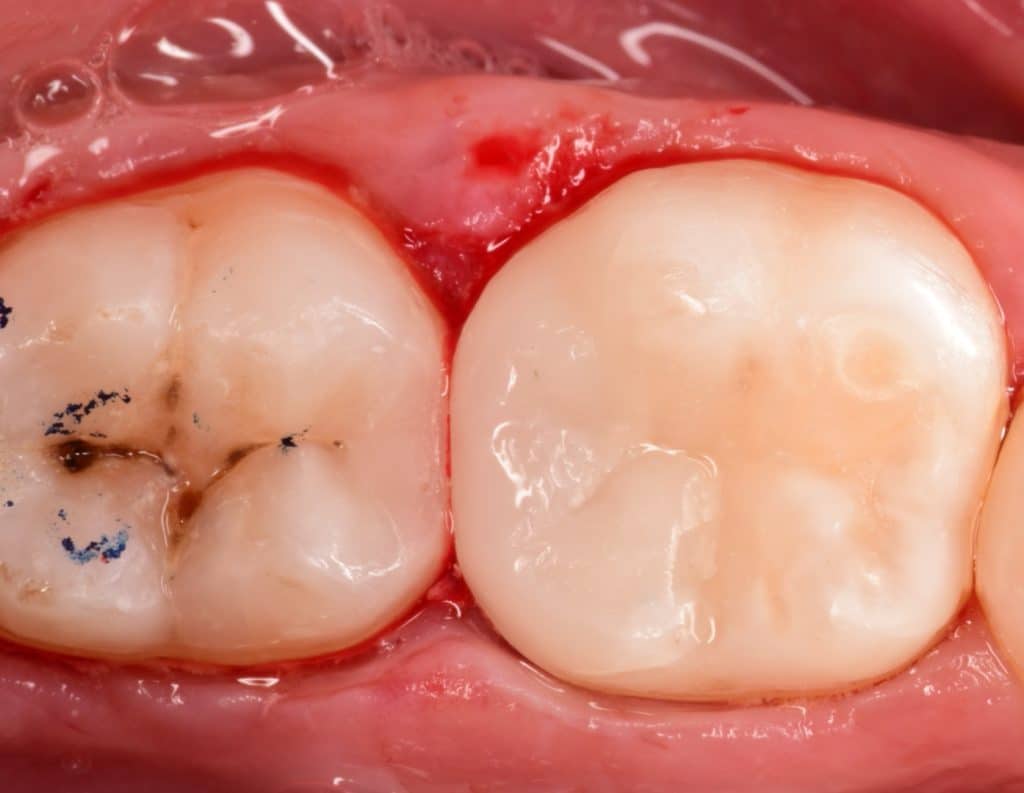
Direct posterior composite before and after 2 weeks later .
In adhesive dentistry, the power of adhesion can solve a lot of our daily dental problems without the fear of unfavourable failure modes if done correctly.
by using a gold standard adhesive system and application of the proper protocol of all steps , you can get what we can called it along life restoration even with direct way by using composite restorations.
her some steps that I followed in this case:
_Isolation is the first important thing to do.
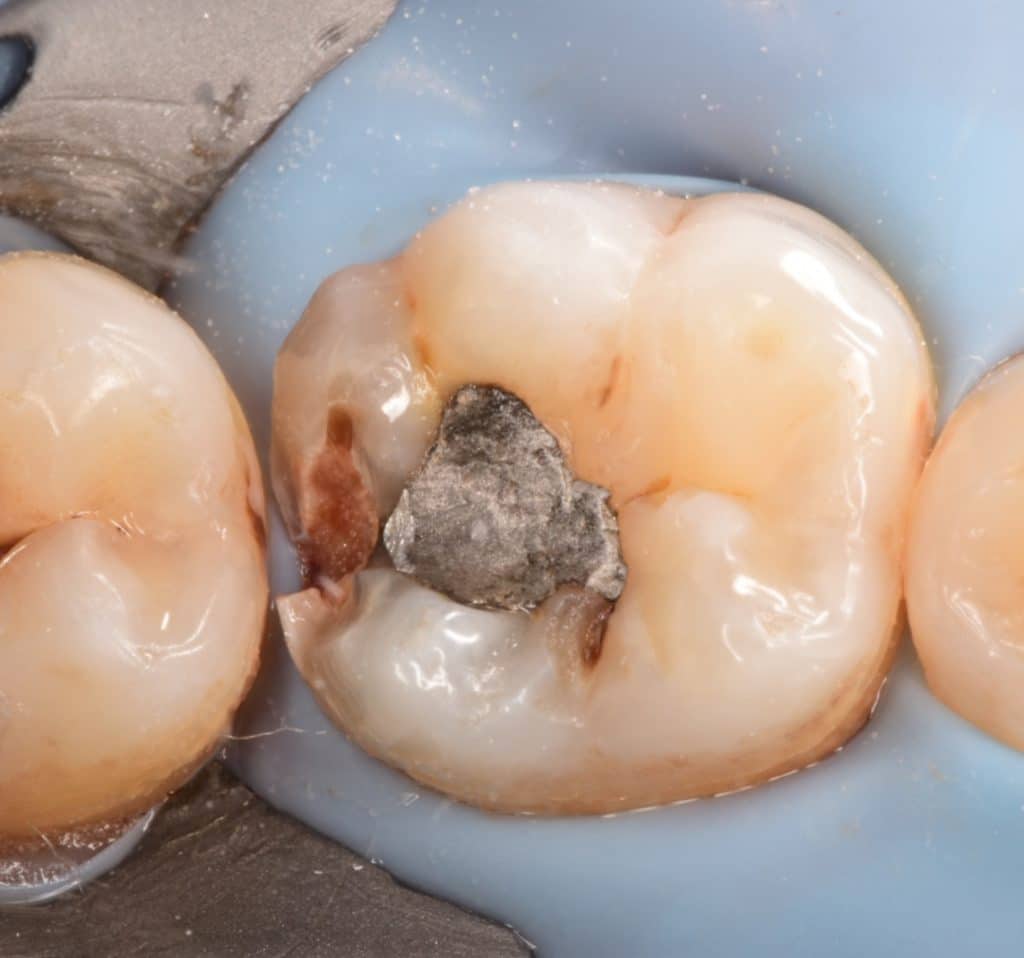
_old amalgam removed from first molar that’s causes a large and deep cavity even from the old and small previous amalgam filling.
_All caries were removed by using CDD.
_mesial wall of second molar prepared to restore firstly later.
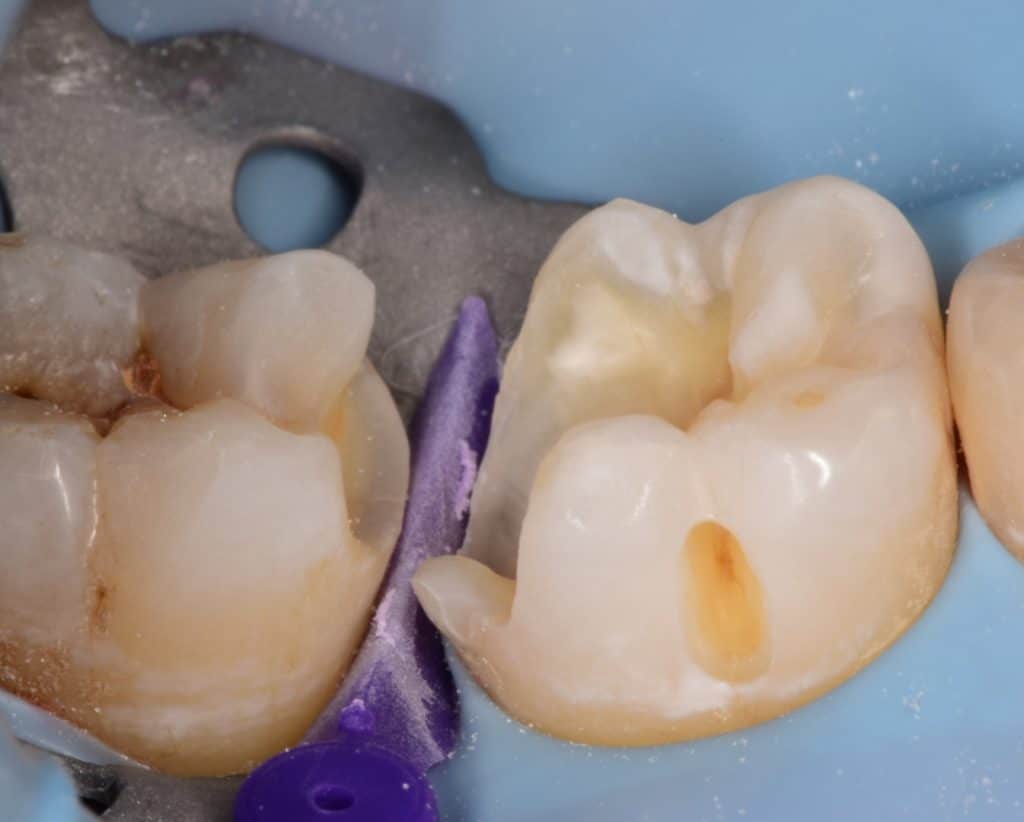
_sandblast
_proper band selection.
_IDS with gold standard clearfil SE bond
_RC with flowable composite from GC
_DWT
_Ever X flow for dentin replacement
_G-aenail Achord for enamel replacement
_finishing and polishing

Initial situation showing badly restored lower first molar with amalgam filling
Isolation as first step

Starting cavity preparation

Buccal view showing the depth of the cavity of the #6 and slo the mesail wall of the second molar with Initial caries need to prepared
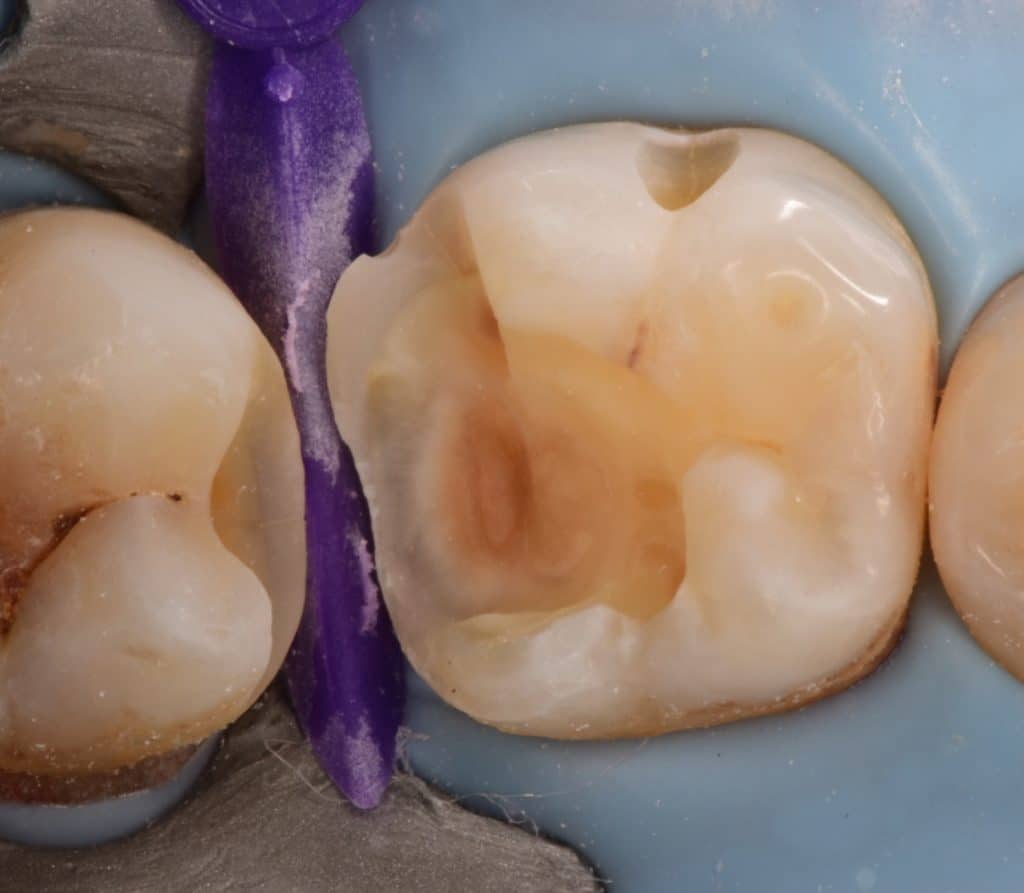
Mesail wall of the Lower second molar prepared and cleaned
Buccal view showing the two cavities are cleaned, sharp edge need to be removed

Final cavity design after sandblast

Selective enamel etching

IDS with gold standard clearfil SE bond, RC with GC flowable composite, second molar restored first
Occlusal view
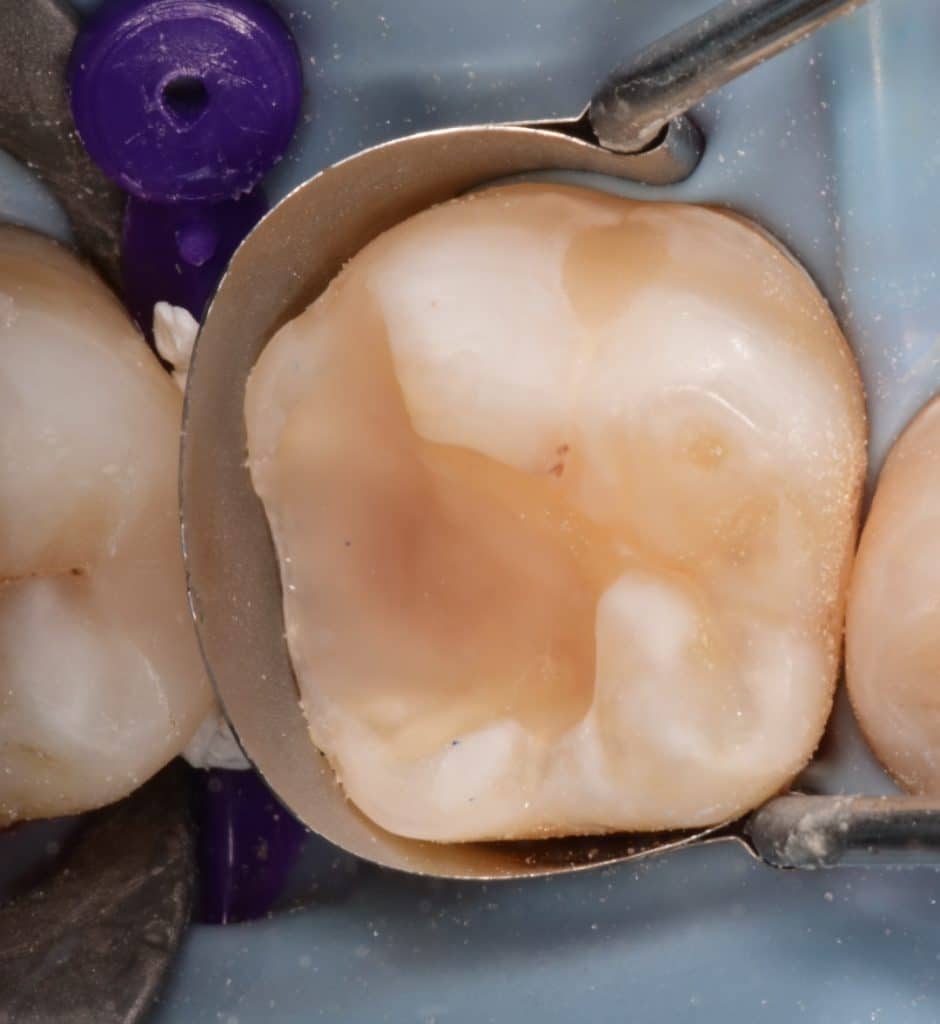
Saddle metal band placed in it's place, the cavity sandblasted and etched again and adhesive application followed

Immediate result
Immediate result before final finishing and polishing
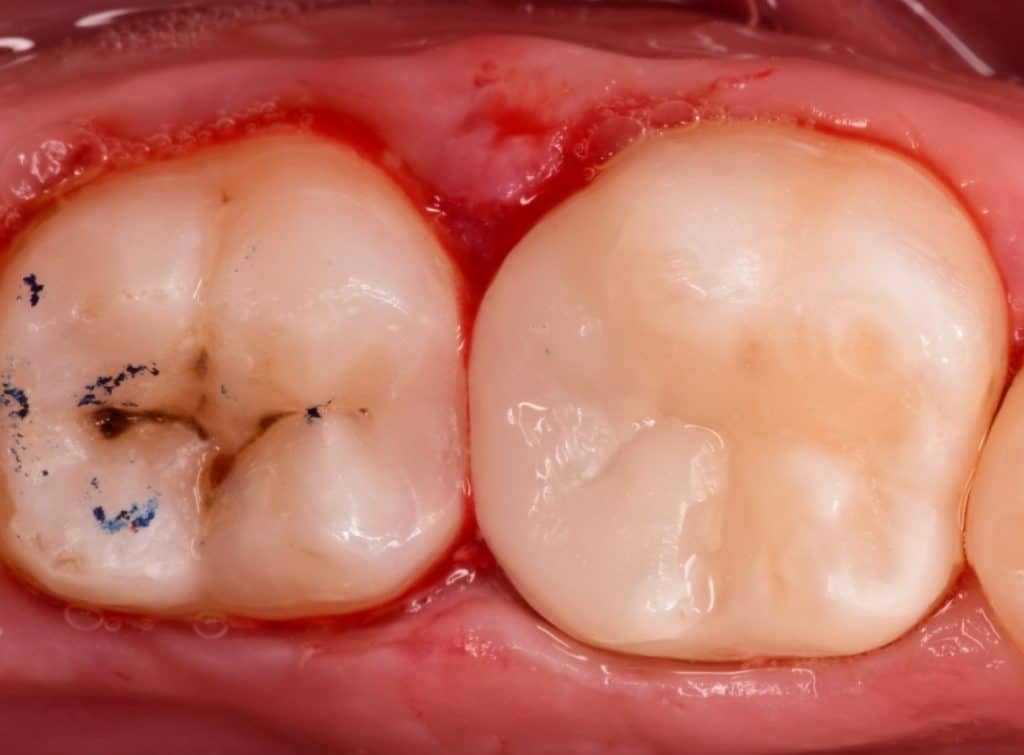

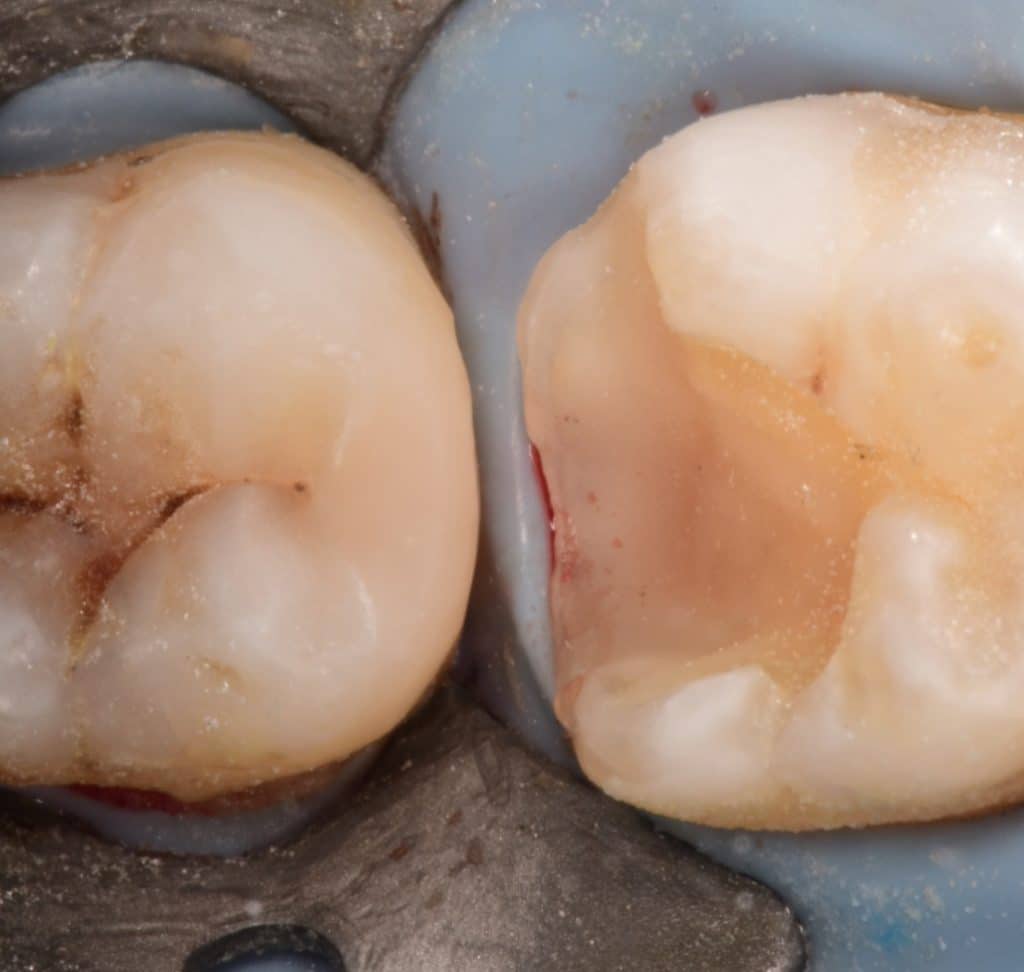
Immediate result after finishing and polishing

2 weeks later look to the healthy gingival tissue
Share on: