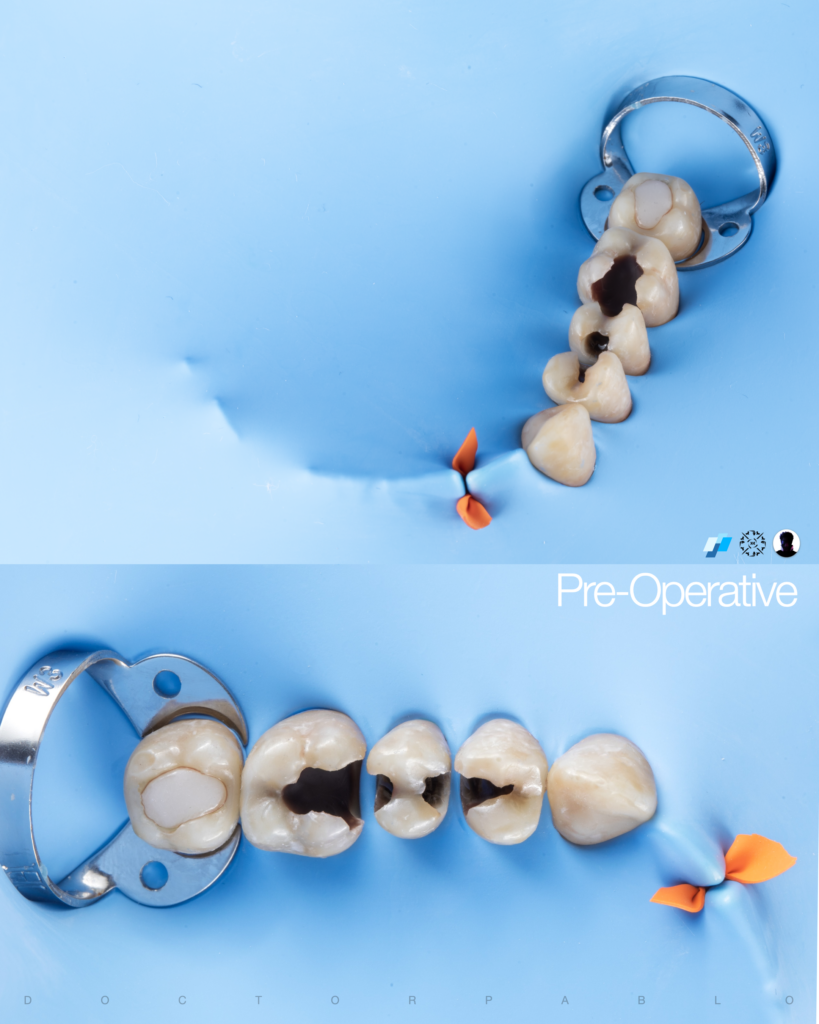
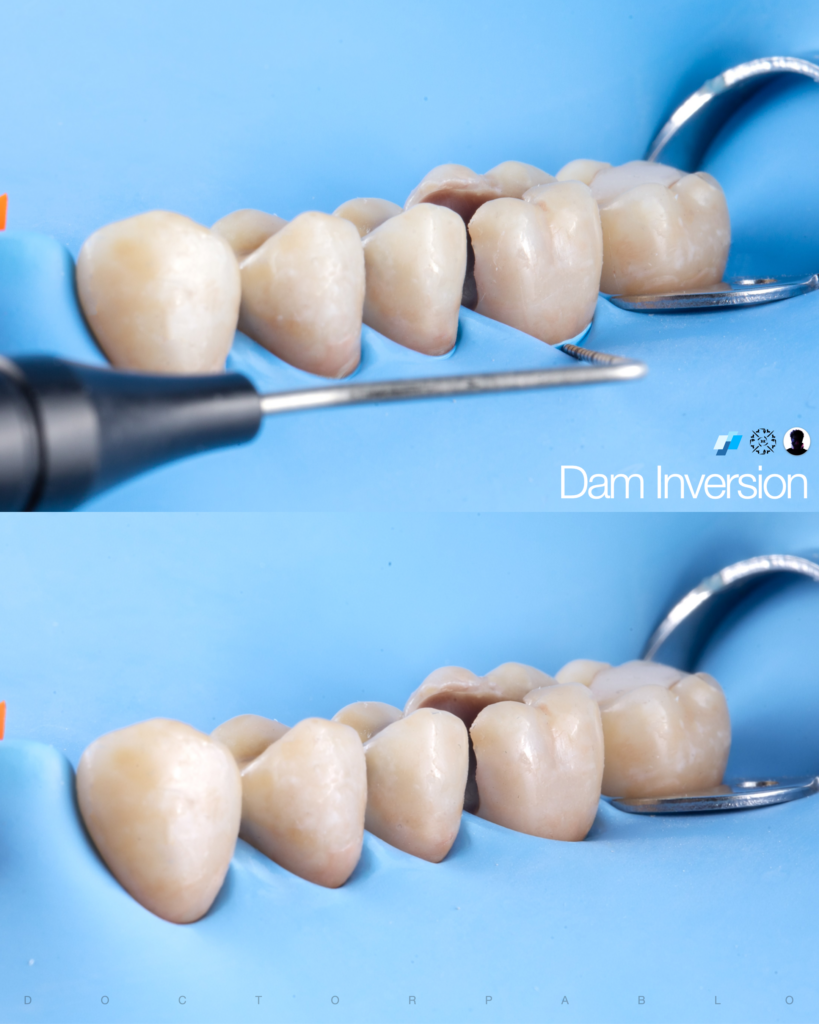
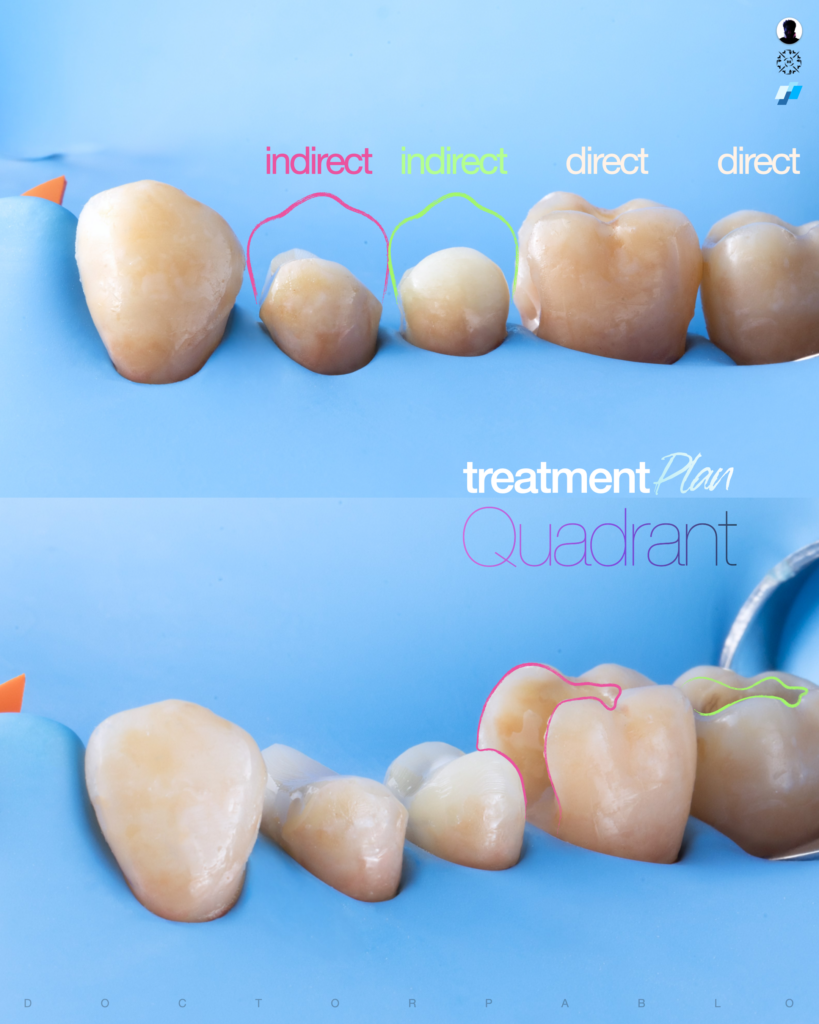


For the DME part, at first we could invert around the 6 and build the matrix. But looking at the mesial emergence profile and the gum health, we decided DME was the better move. This way, we can make sure we get a good seal and a natural contact between 6 and 5. Especially since that contact was already missing, so we were basically designing it from zero.
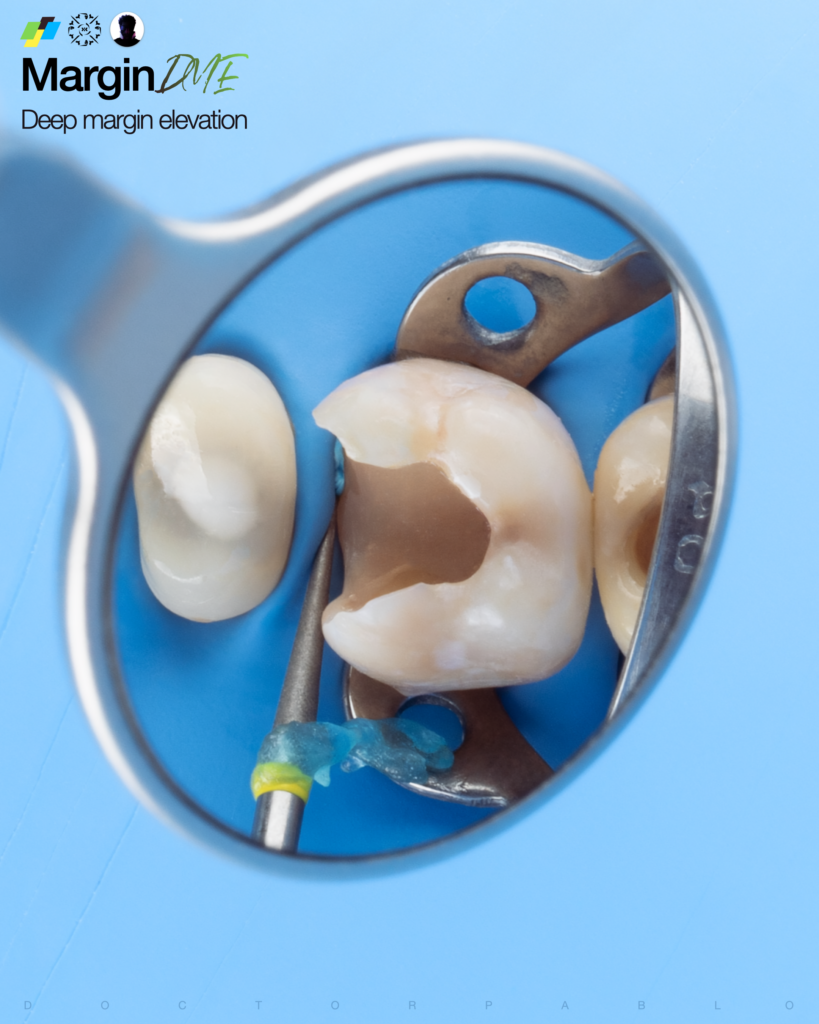
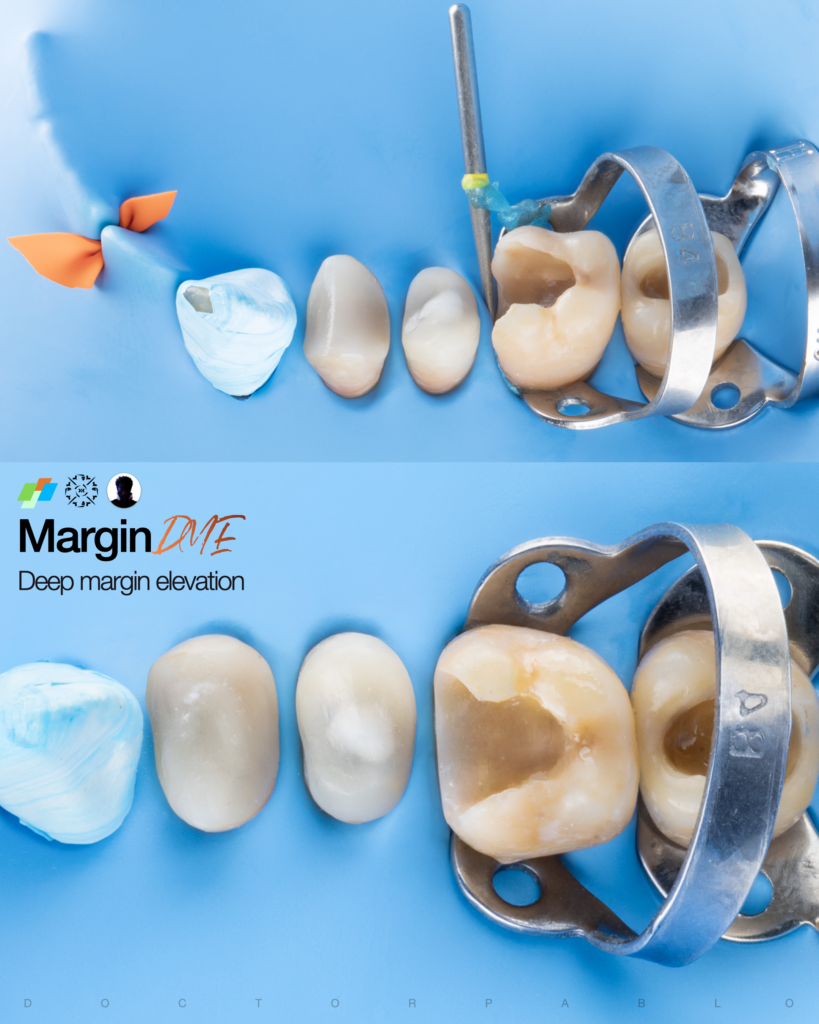

After the DME, we built the wall using a normal sectional matrix with this amazing tool, the sectional matrix clamp. It gives us much better control of the matrix, keeps it stable, and helps us build a nice proximal wall with the right contour and contact from the start.

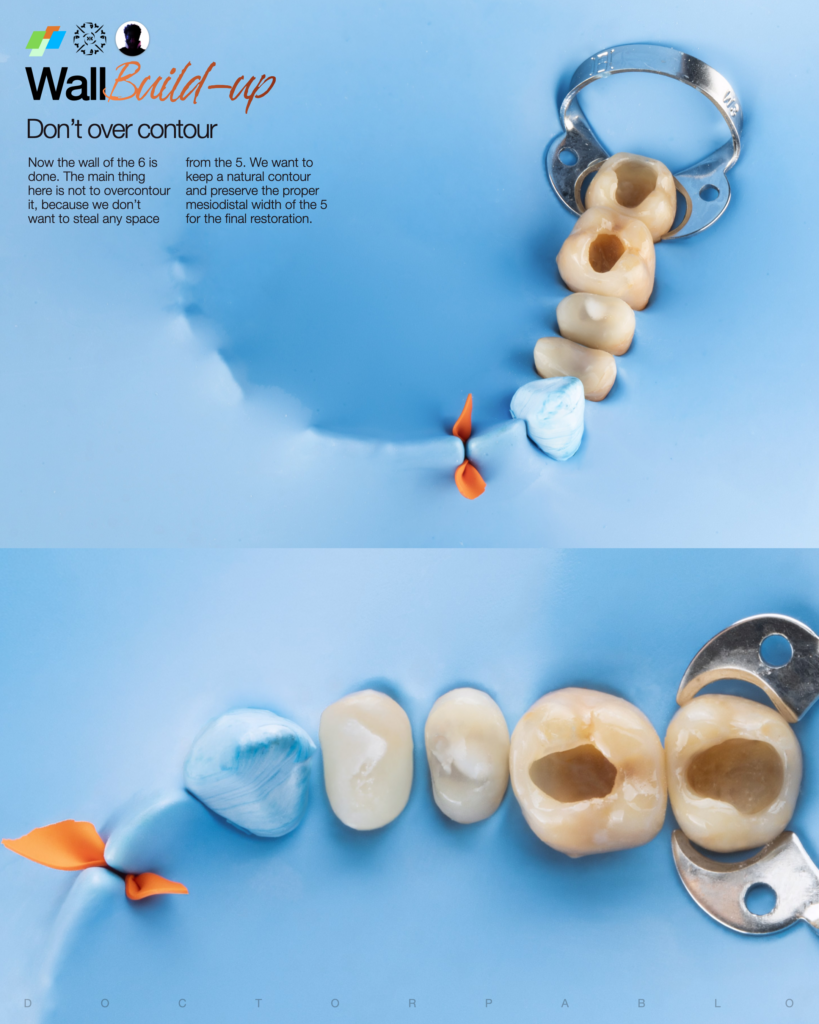
Now the wall of the 6 is done. The main thing here is not to overcontour it, because we don’t want to steal any space from the 5. We want to keep a natural contour and preserve the proper mesiodistal width of the 5 for the final restoration.

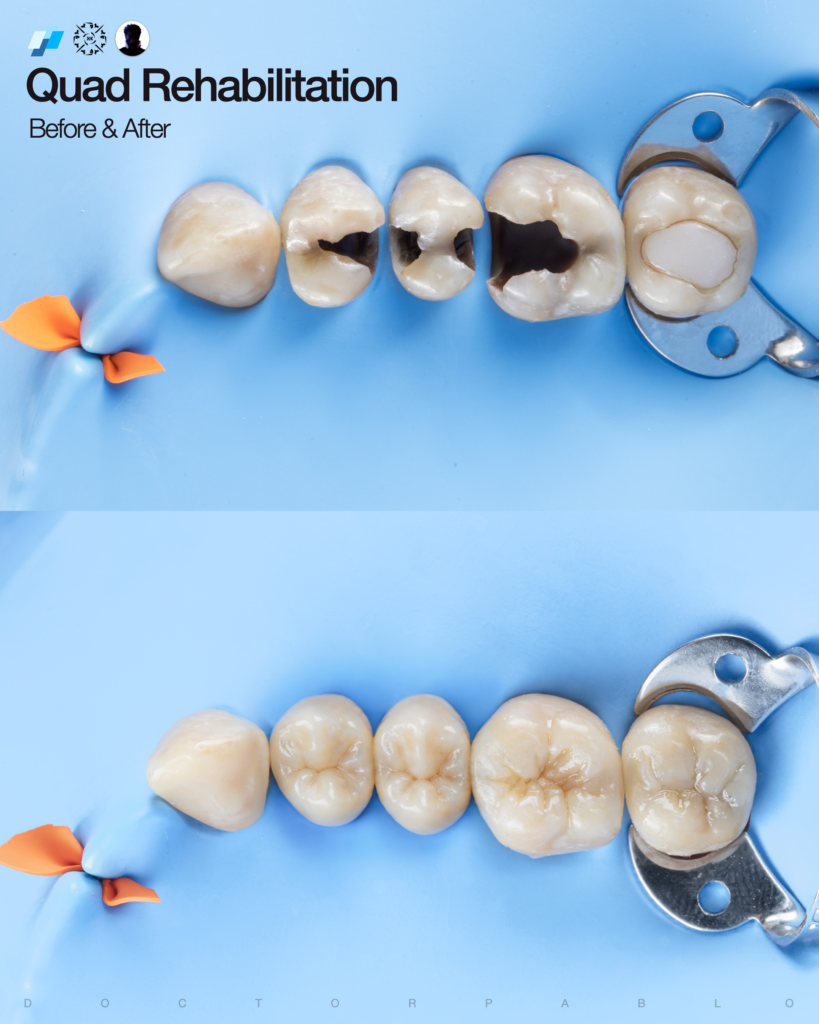
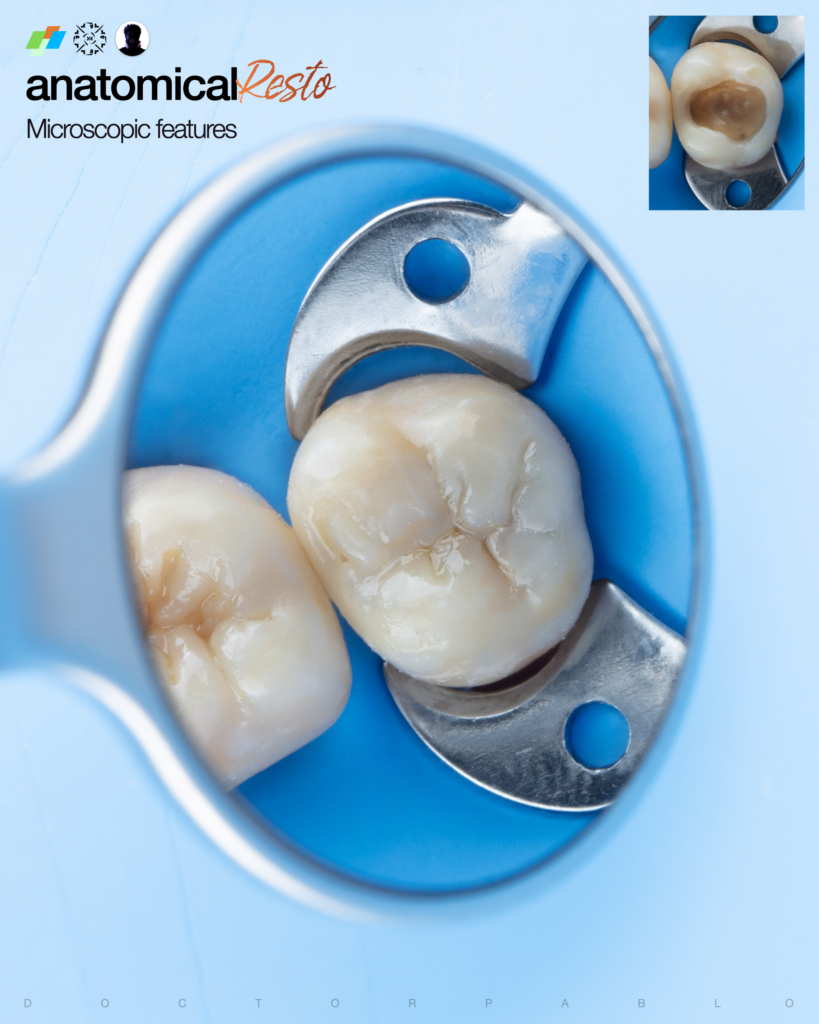
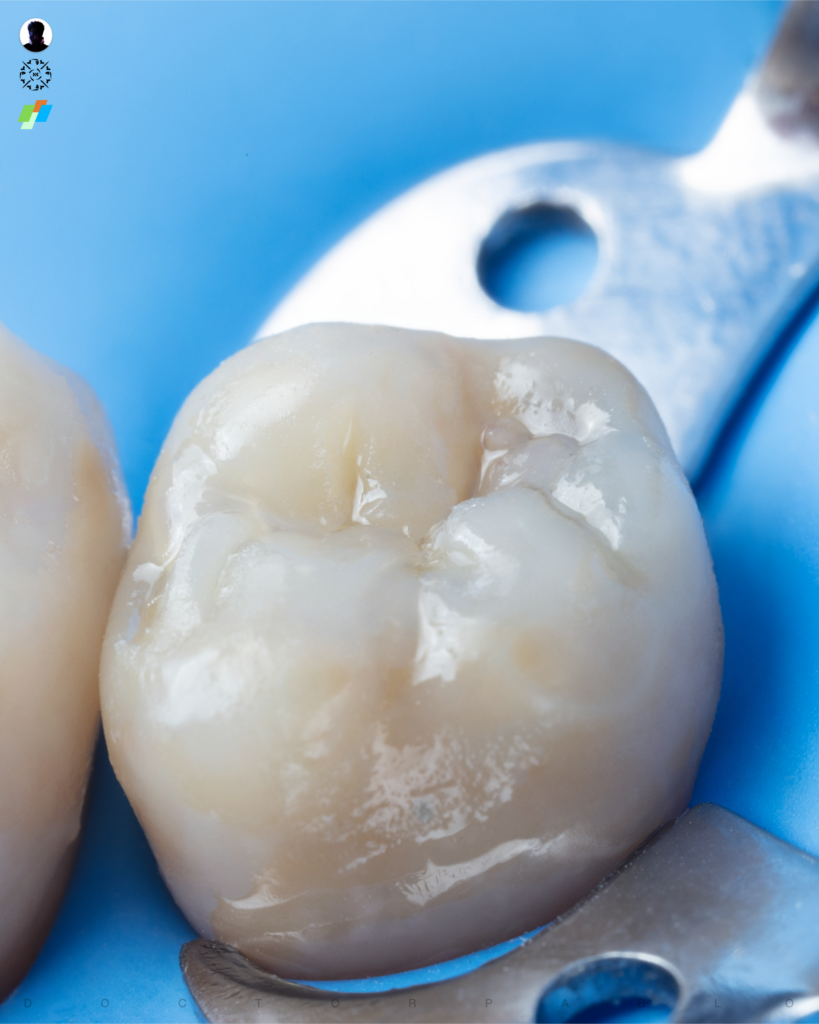
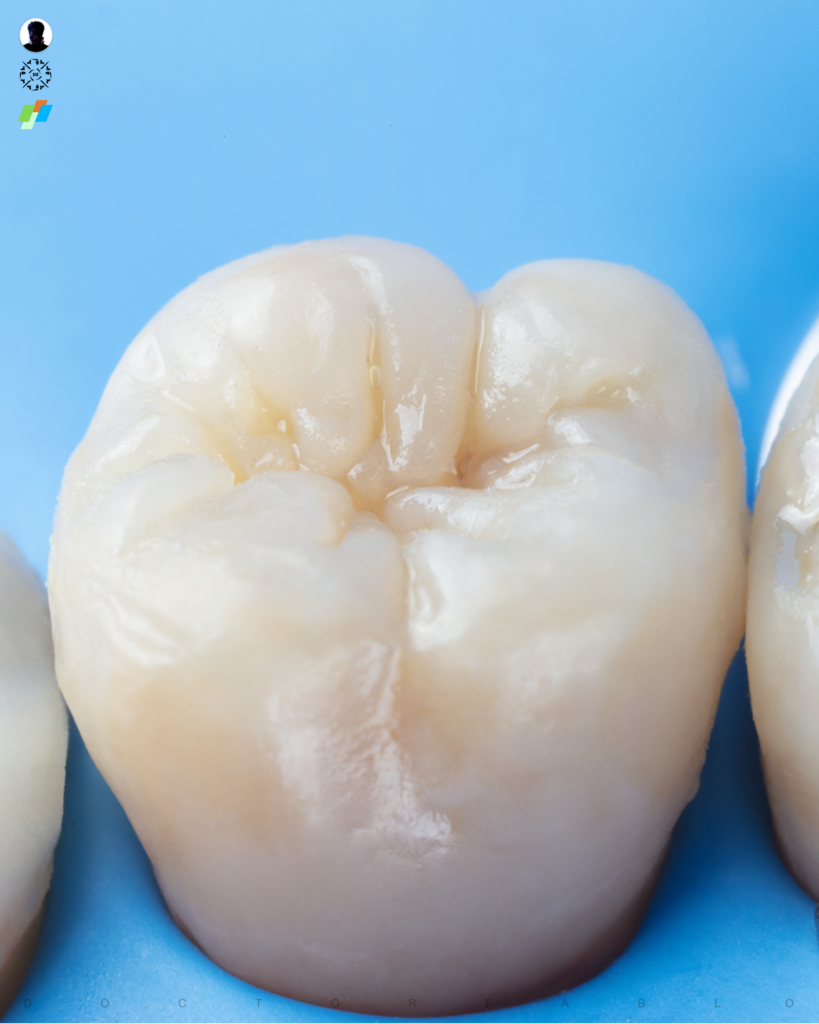
Now we build the 6 and 7 as a normal Class I restoration, but still keeping an eye on all the details, proper anatomy, cusp and groove shape, natural contour, and of course the right shade and translucency so everything blends in nicely and doesn’t look overbuilt.

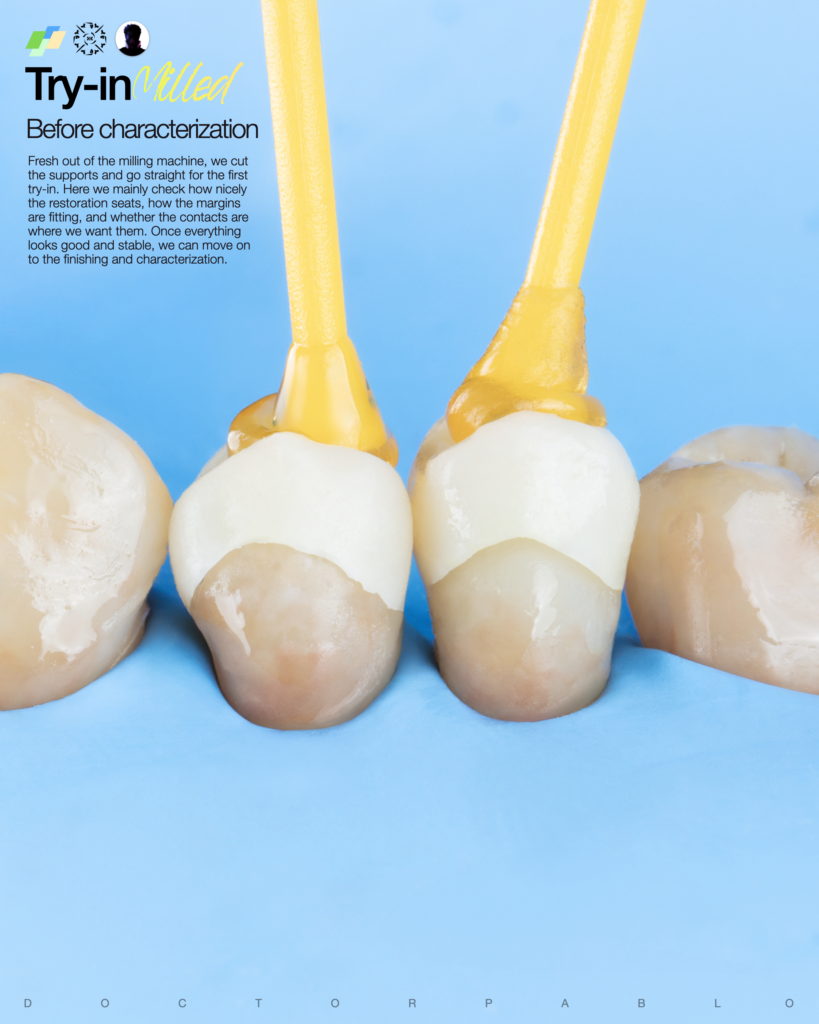
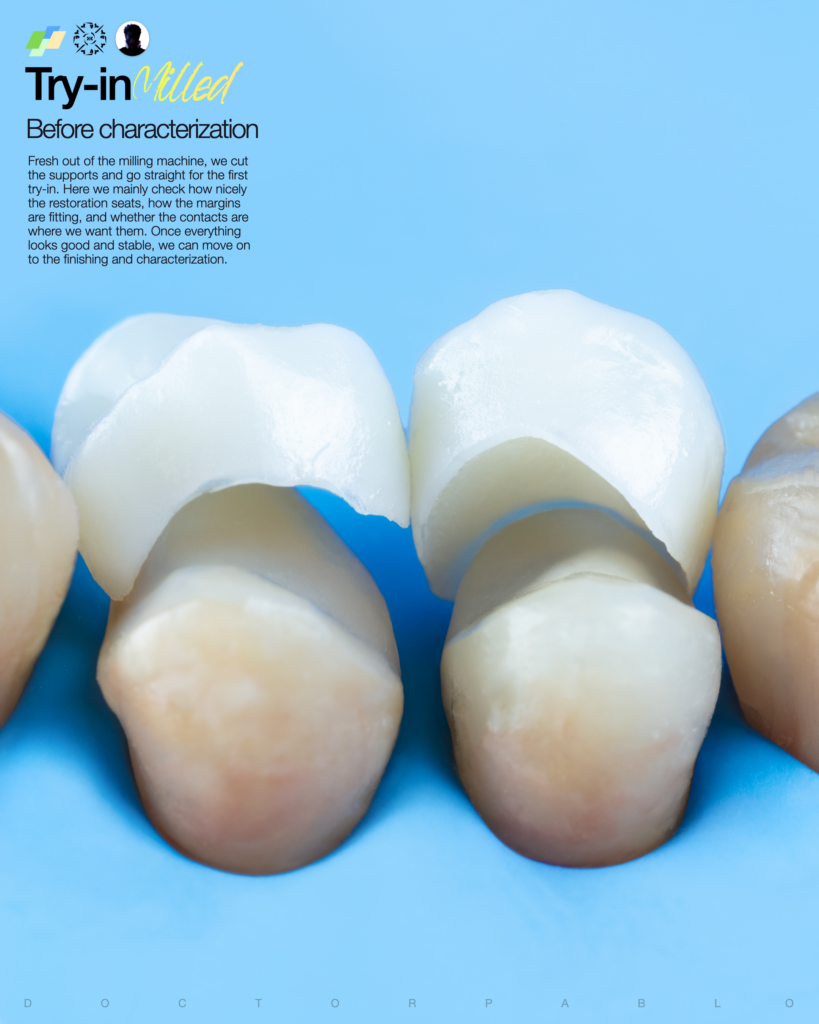
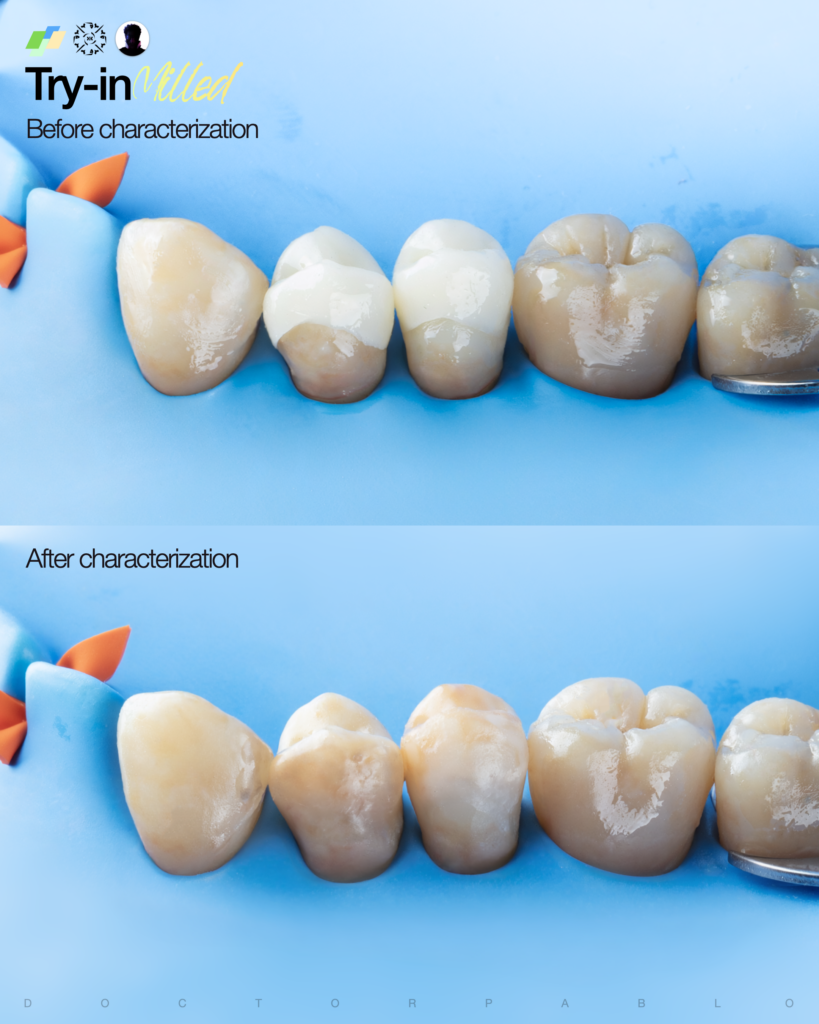
Fresh out of the milling machine, we cut the supports and go straight for the first try-in. Here we mainly check how nicely the restoration seats, how the margins are fitting, and whether the contacts are where we want them. Once everything looks good and stable, we can move on to the finishing and characterization.
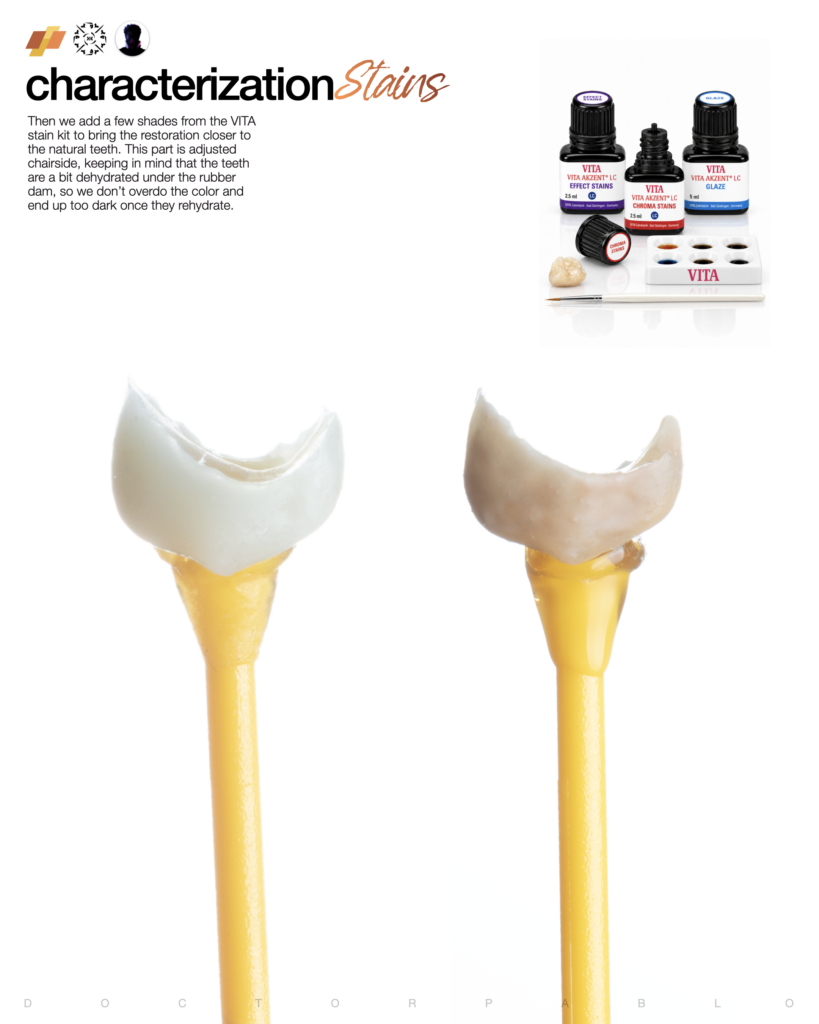
Then we add a few shades from the VITA stain kit to bring the restoration closer to the natural teeth. This part is adjusted chairside, keeping in mind that the teeth are a bit dehydrated under the rubber dam, so we don’t overdo the color and end up too dark once they rehydrate.

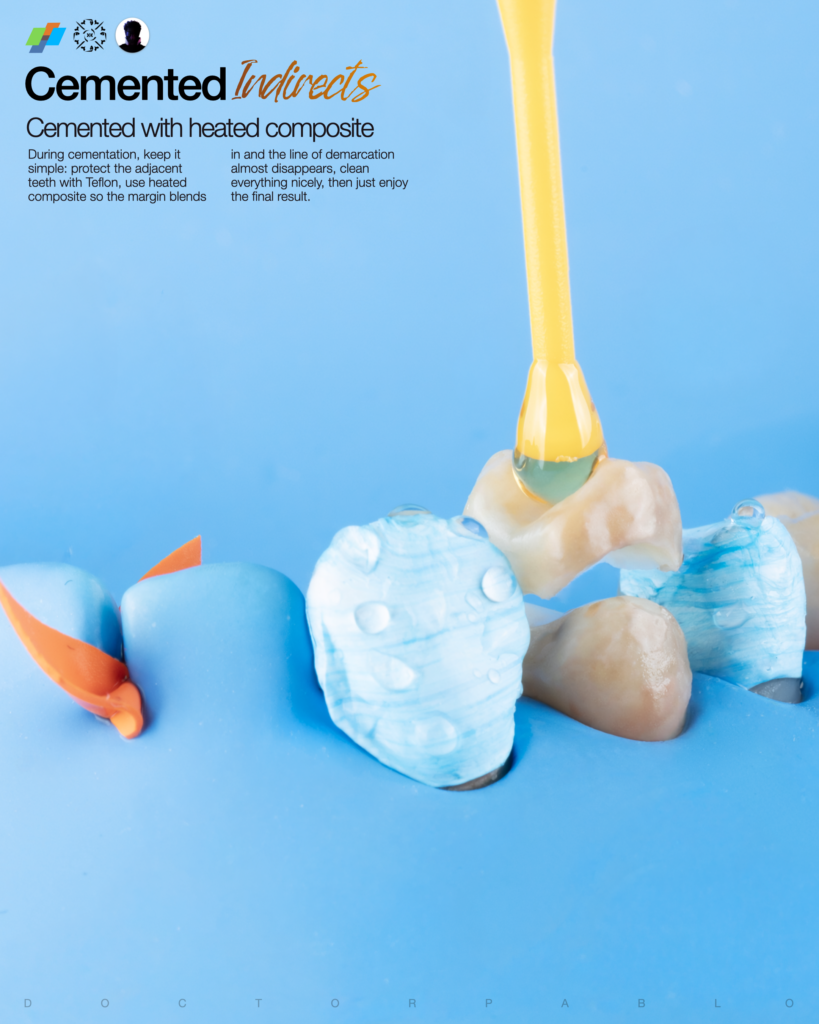
During cementation, keep it simple: protect the adjacent teeth with Teflon, use heated composite so the margin blends in and the line of demarcation almost disappears, clean everything nicely, then just enjoy the final result.